+91 83682 47758
info@medivisorhealth.com
Medivisor India Treatment Logo
  • Home
    • About Us
    • Our Services
    • Our Team
    • Our Safety Measures
    • Loading treatments...
    • Loading hospitals...
    • Loading doctors...
    • Loading tests & diagnoses...
    • Treatment Cost
    • Treatment Process
    • Visa Process
    • Travel Guide
    • FAQs
    • Why Medivisor
    • Success Stories
    • Patient Activities
    • Social Activities
    • News Coverage
    • Blog
  • Become a Partner

Medivisor India Treatment is a trusted New Delhi-based medical travel company assisting international patients with advanced, affordable, and seamless treatment in India.

  • Medivisor House 359, Sector 1, Vaishali, Ghaziabad, (Delhi/NCR) India
  • +91 8368 247 758
  • info@medivisorhealth.com

About Us

  • About Us
  • Our Services
  • Our Team
  • Our Safety Measures
  • Join Our Network
  • Contact Us

India Treatment

  • Hospitals
  • Treatments
  • Treatment Cost
  • Treatment Process
  • Visa Process
  • Travel Guide
  • FAQs
  • Why Medivisor

Gallery

  • Patient Testimonials
  • Patient Activities
  • News Coverage
  • Blog

Get in Touch

© 2026 Medivisor India Treatment. All rights reserved.

Dr Neeraj Goyal - Director - Laparoscopic, Laser, Robotic & General Surgery | Medivisor India Treatment | Medivisor India Treatment

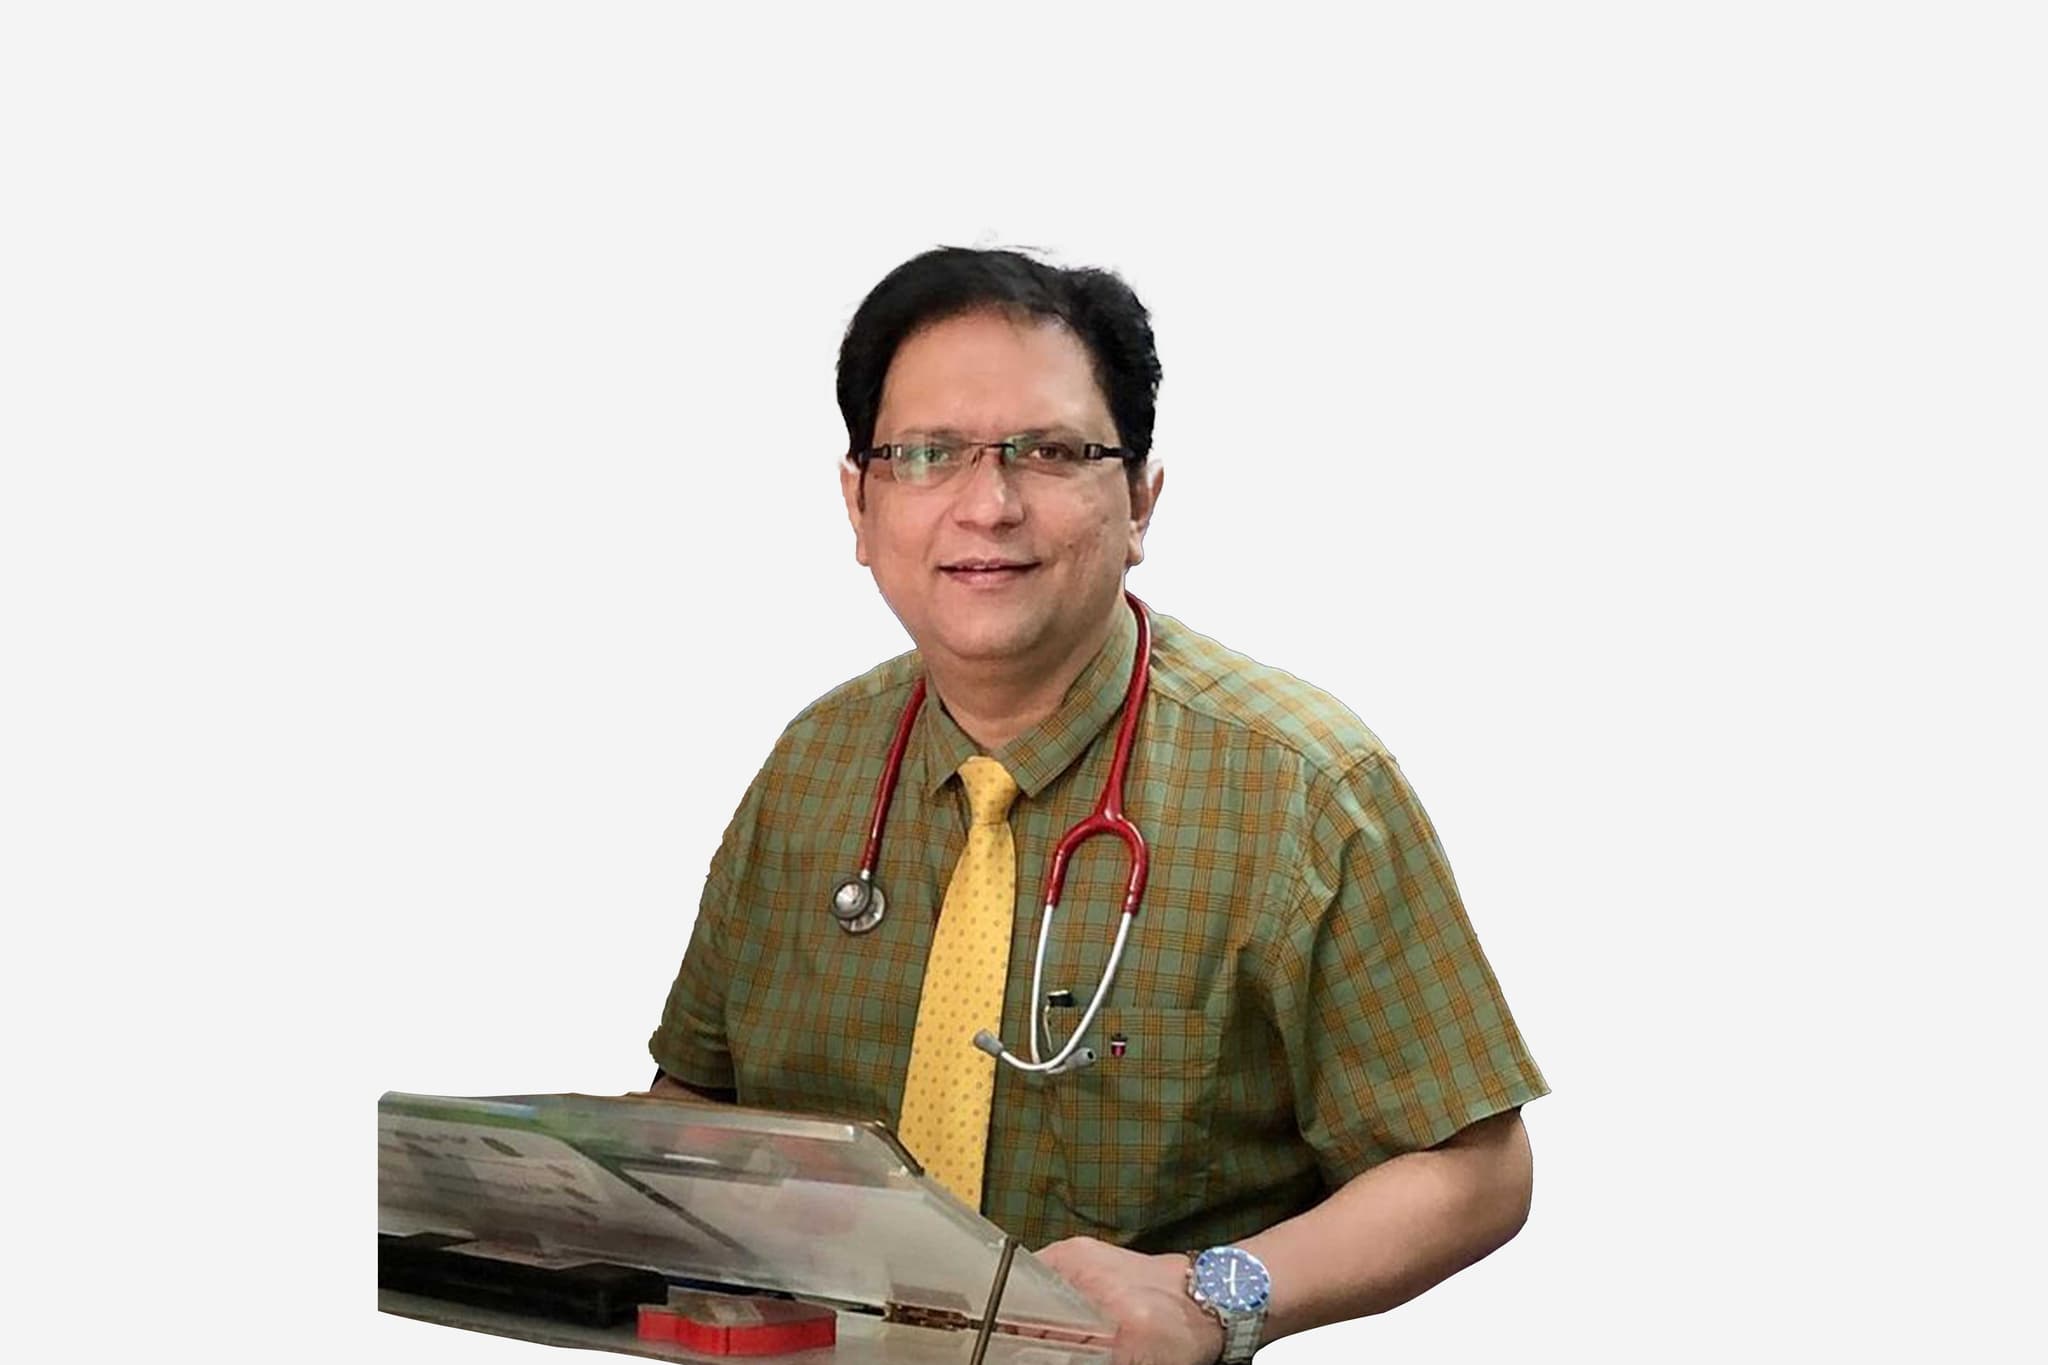
Dr Neeraj Goyal

Director - Laparoscopic, Laser, Robotic & General Surgery

Max Super Specialty Hospital, Patparganj

26+ years experience
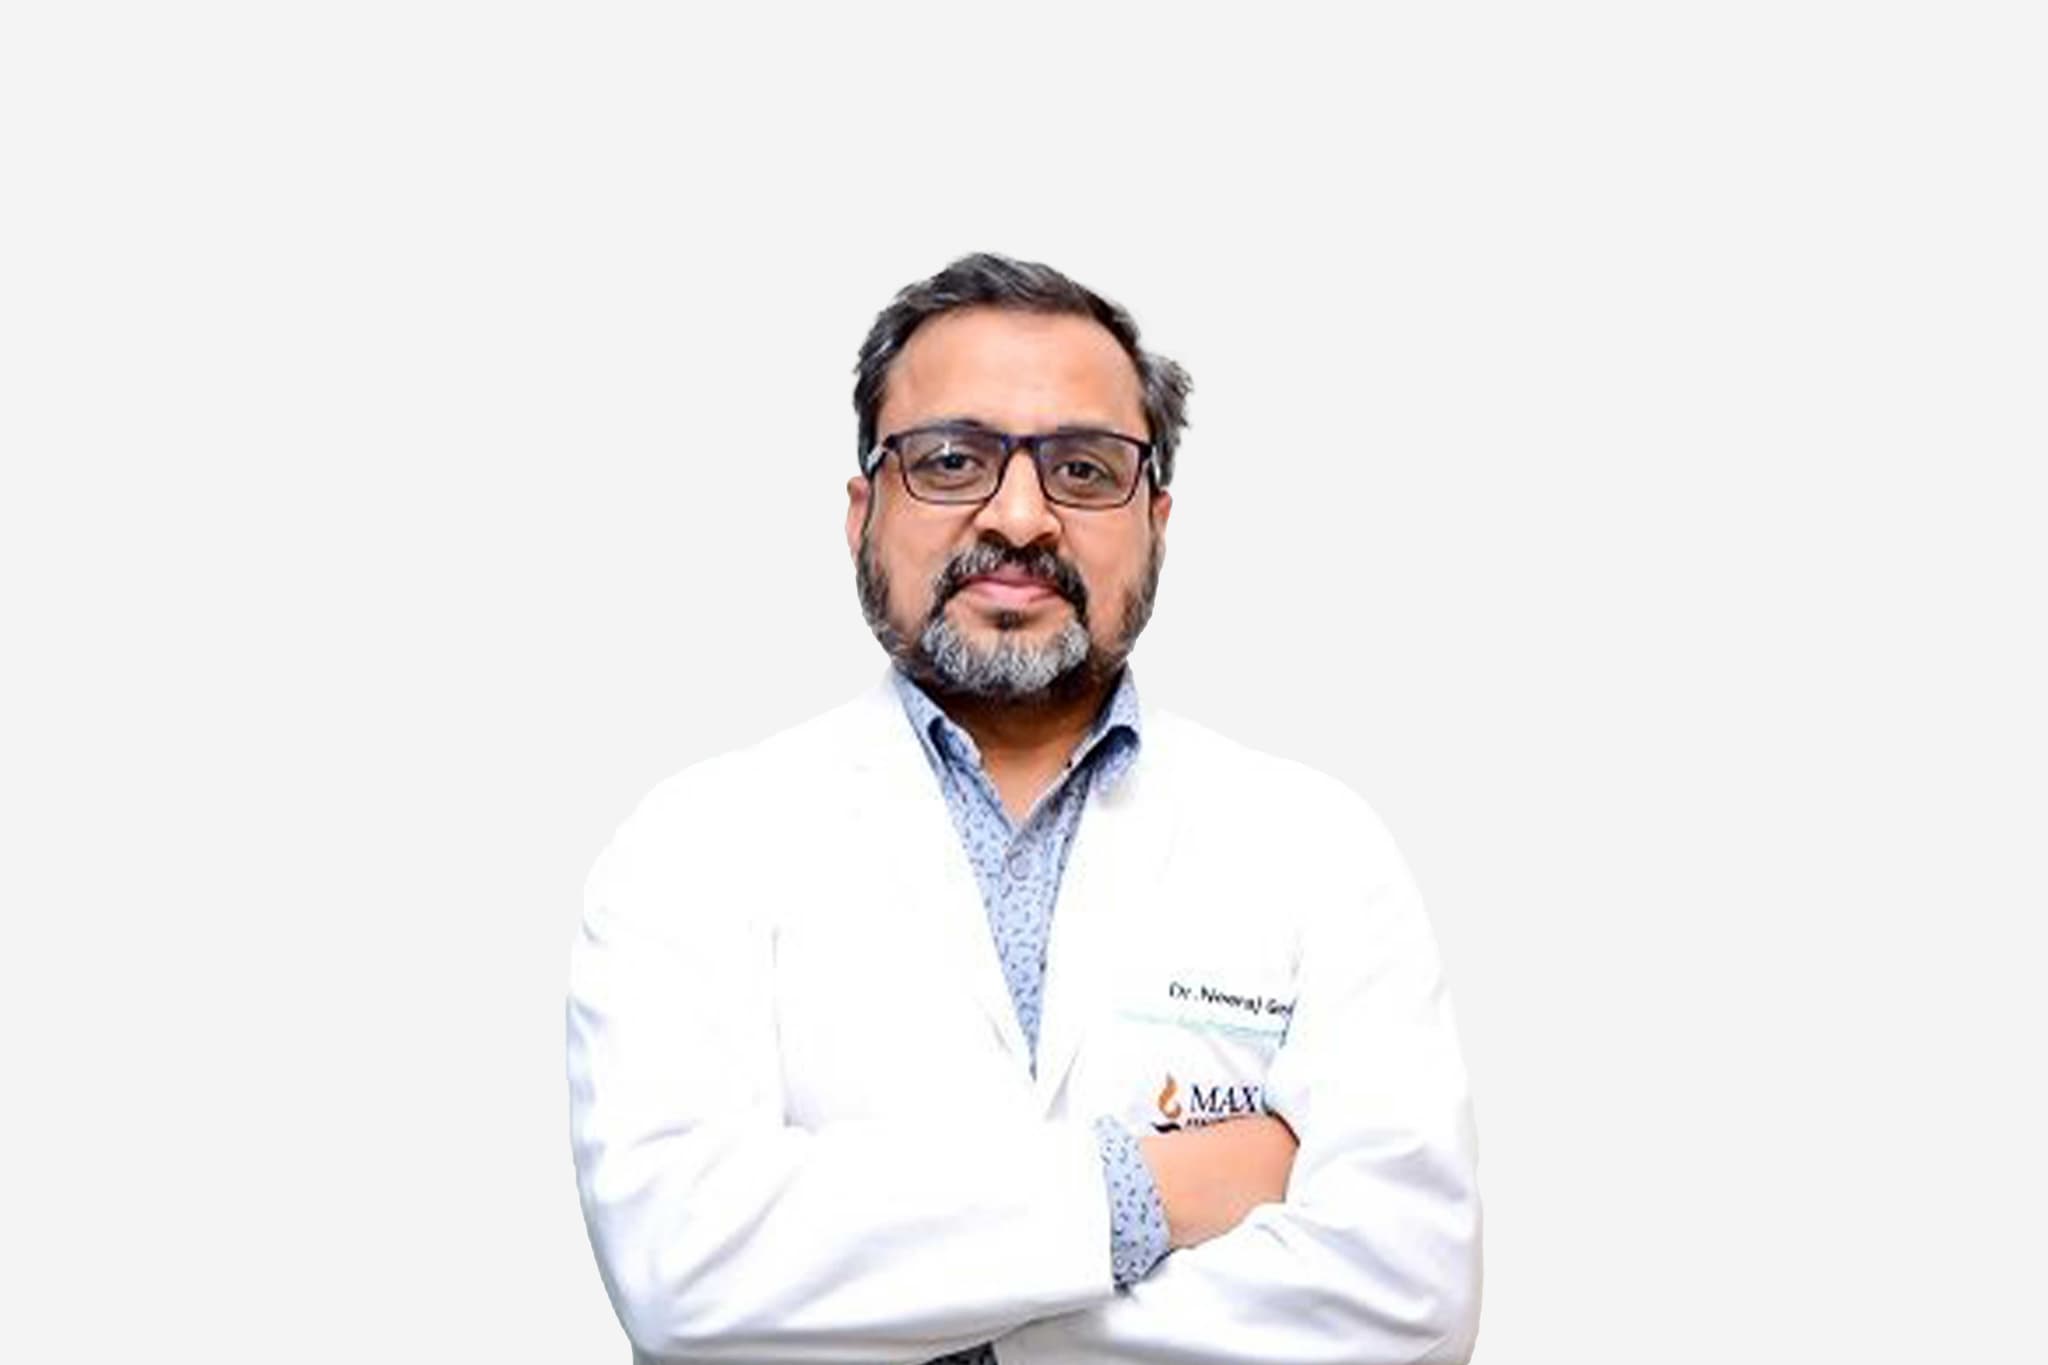
Dr Neeraj Goyal, Director - Laparoscopic, Laser, Robotic & General Surgery at Max Super Specialty Hospital, Patparganj - Max Healthcare
  1. Home
  2. Doctors
  3. Dr Neeraj Goyal

About Dr Neeraj Goyal

Dr. Neeraj Goyal is a highly distinguished surgeon with over two decades of clinical excellence. Currently serving as the Director of the Department of General Surgery and Robotics, Laparoscopic / Minimal Access Surgery at Max Super Speciality Hospital, Patparganj, he is recognized as a premier authority in advanced surgical techniques. His career is defined by an extraordinary surgical volume, having successfully performed over 50,500 major procedures, establishing him as one of the most experienced practitioners in the Delhi-NCR region.

Pioneering Breakthroughs in Laser Proctology and Hernia Surgery

Dr. Goyal is a global pioneer in the field of Laser Proctology, having completed more than 6,350 specialized laser surgeries for conditions such as piles, fissures, and fistulas. He is also widely acknowledged for his expertise in complex Hernia surgery, where he has pioneered the use of fully resorbable mesh—a technology that enhances tissue integration and reduces long-term complications. By combining robotic-assisted precision with these innovative materials, he ensures superior functional outcomes and faster recovery for his patients.

National Leadership and Academic Excellence

A dedicated medical educator, Dr. Goyal has served as a Professor and Head of General Surgery for over 13 years. His passion for teaching is reflected in his mentorship of more than 1,510 surgeons through extensive training programs and live operative workshops. His pedagogical influence has been instrumental in disseminating advanced minimally invasive techniques to the next generation of surgical practitioners, ensuring the highest standards of care across the medical community.

Advancing the Future of Minimal Access and Robotic Care

In recognition of his monumental contributions to the healthcare landscape, Dr. Goyal was honored with the prestigious Economic Times Most Influential Award in 2022. His leadership at Max Healthcare focuses on the integration of "Next-Gen" surgical platforms, including the latest robotic systems for abdominal wall reconstruction and gastrointestinal procedures. His commitment to research and innovation has solidified his reputation as a visionary in the transition from traditional open surgery to high-precision robotic interventions.

Innovation and Clinical Expertise

Dr. Goyal’s practice is defined by a unique blend of technical deftness and a compassionate, patient-centric philosophy. He is revered for his ability to provide "familial warmth" in a clinical setting, ensuring that every patient receives a personalized treatment plan tailored to their specific needs. By bridging the gap between high-volume surgical expertise and empathetic care, he remains a trusted name for patients seeking world-class solutions in general and laparoscopic surgery.

Dr. Neeraj Goyal at a Glance

  • Director of General Surgery and Robotics at Max Hospital, Patparganj.

  • Performed over 50,500 major surgeries and 6,350+ Laser Proctology procedures.

  • Pioneer in Hernia surgery utilizing fully resorbable mesh technology.

  • Recipient of the Economic Times Most Influential Award (2022).

  • Former Professor and Head of General Surgery with 13+ years of academic leadership.

  • Global mentor who has trained over 1,510 surgeons in advanced operative techniques.

FAIS (Fellowship by Association of Surgeons of India) 2020
FIAGES (Fellow of Indian Association of Gastrointestinal & Endoscopic Surgeons) Fellowship in Laparoscopy: June 2010
MS (General Surgery) Gandhi Medical College, Bhopal (1998-2001)
MBBS (Bachelor of Medicine & Bachelor of Surgery) LLRM Medical College, Meerut (1991-1997)
AMASI (Asso. of minimal access surgeons of India) Skills Course (2009)
BLS & ACLS Provider Course (2009)
NABH Internal Assessor Course (2009)
WHO (World Health Organization), Delhi – Delivered talk as an invited expert speaker for WHO representatives of 11 South East Asian Nations on Prevention of Surgical Proctology diseases, 4 Dec 2023
TEDX Speaker, 5 Nov 2023: “Cut Clarity Cricket
TEDX Speaker, 19 Mar 2023: “Driving the blade – making a positive cut
India Today's “10 Most Powerful Leaders” 2022
Times of India “Times Leading Entrepreneur Award”2022
Economic Times: “Most Influential Leaders Award”2022
Business Today “Surgeon Extraordinaire” in an article published in Aug 2022
Conferred with an award of “Guest of Honour” in Magnetic Journey of Legends in Entrepreneurs Forum of India Dec 2021
May we help you?

Enter digits only (6-15 digits). We'll add your country code.

Related Treatments

Femtosecond Laser Cataract Surgery

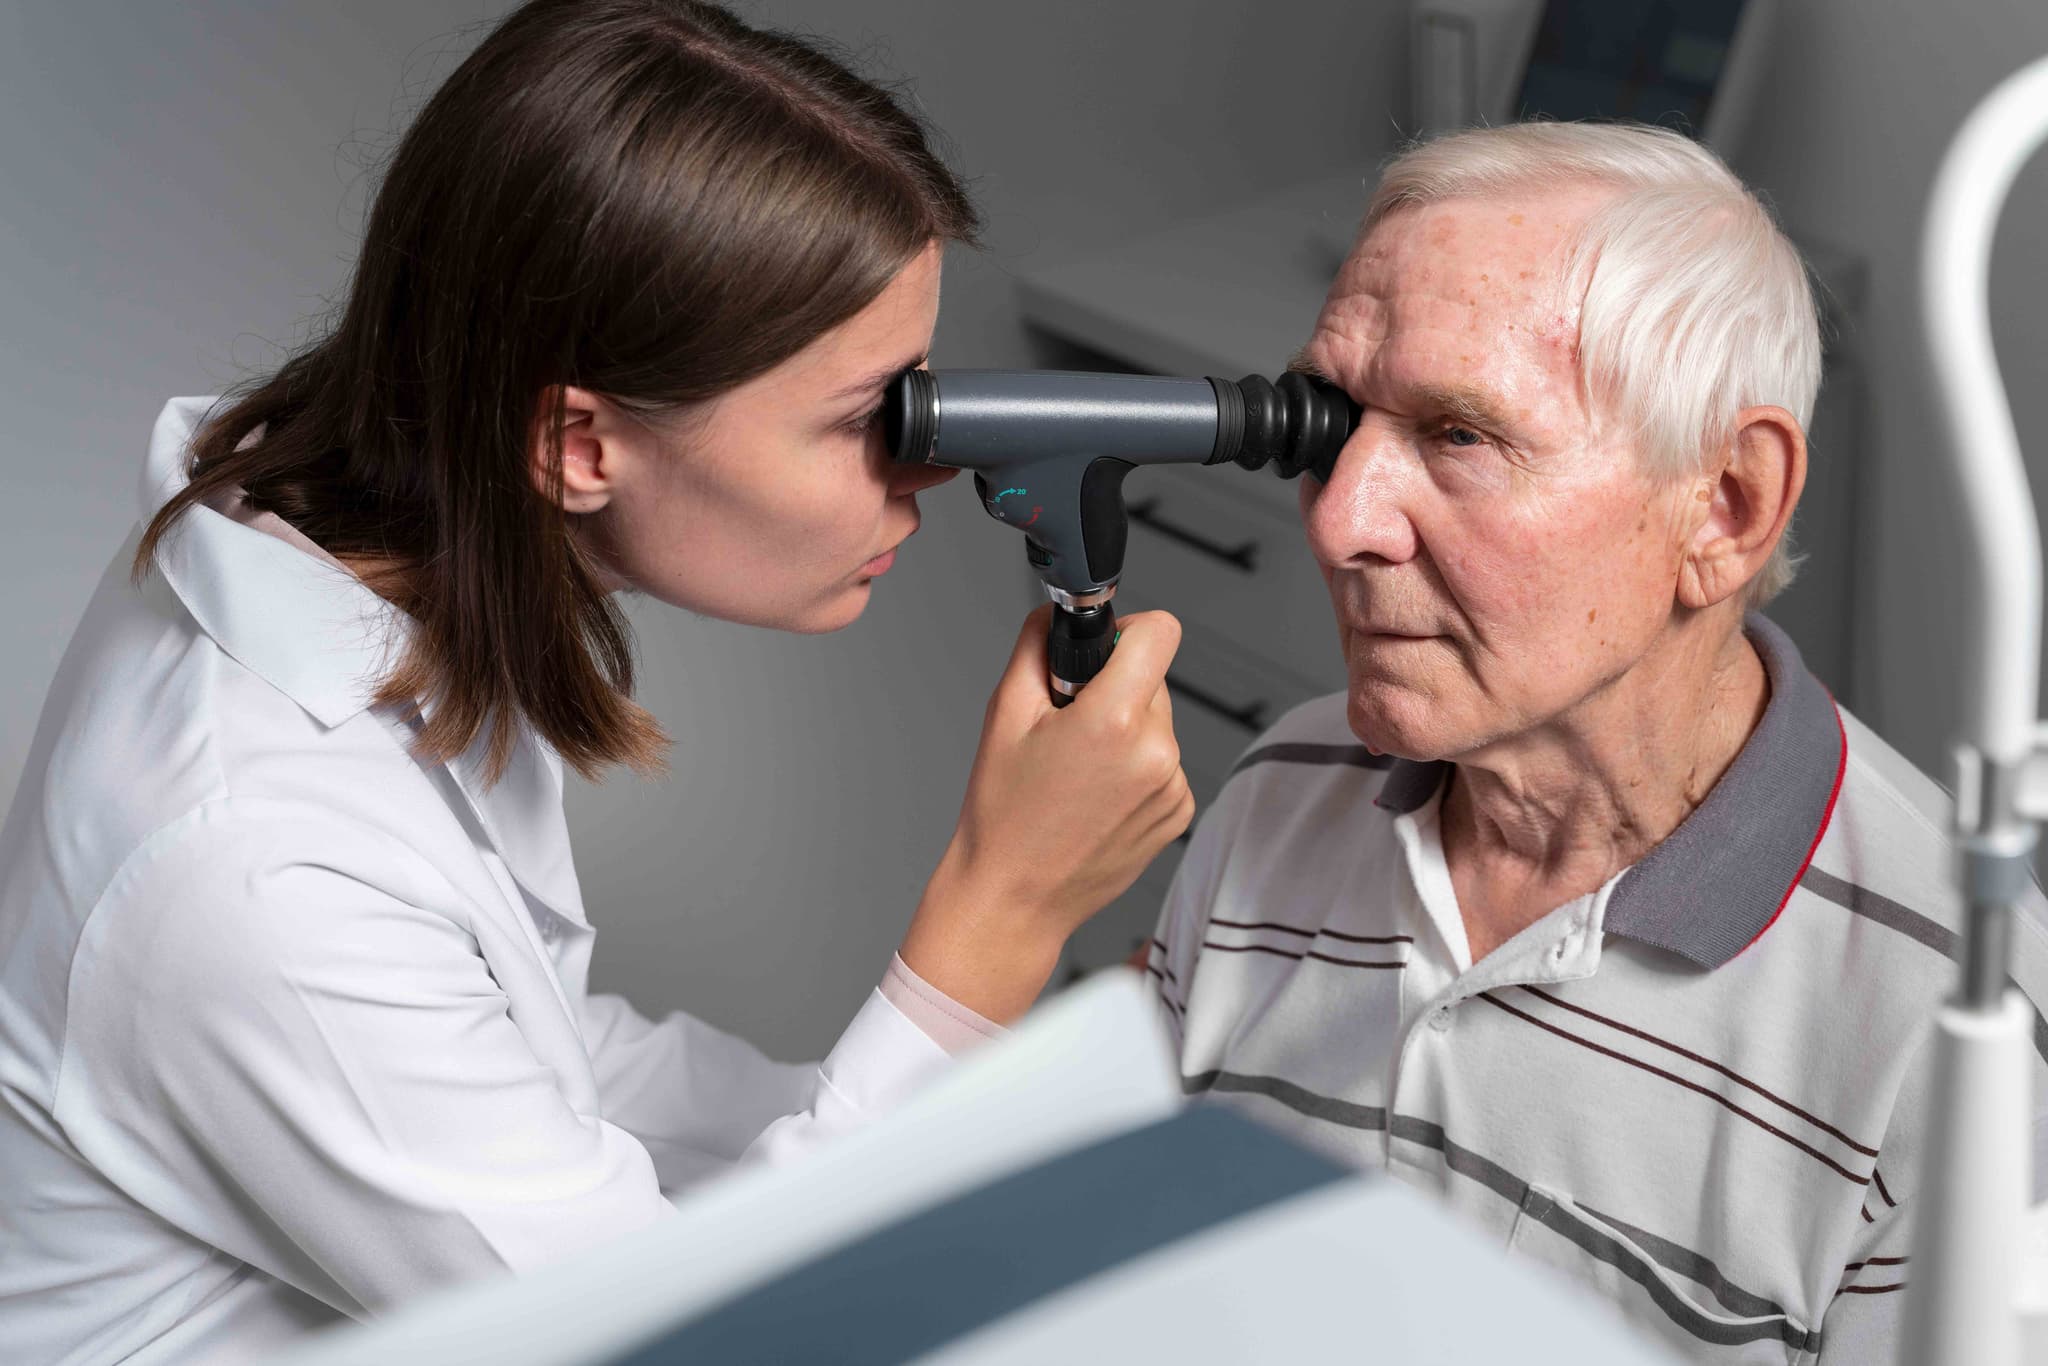
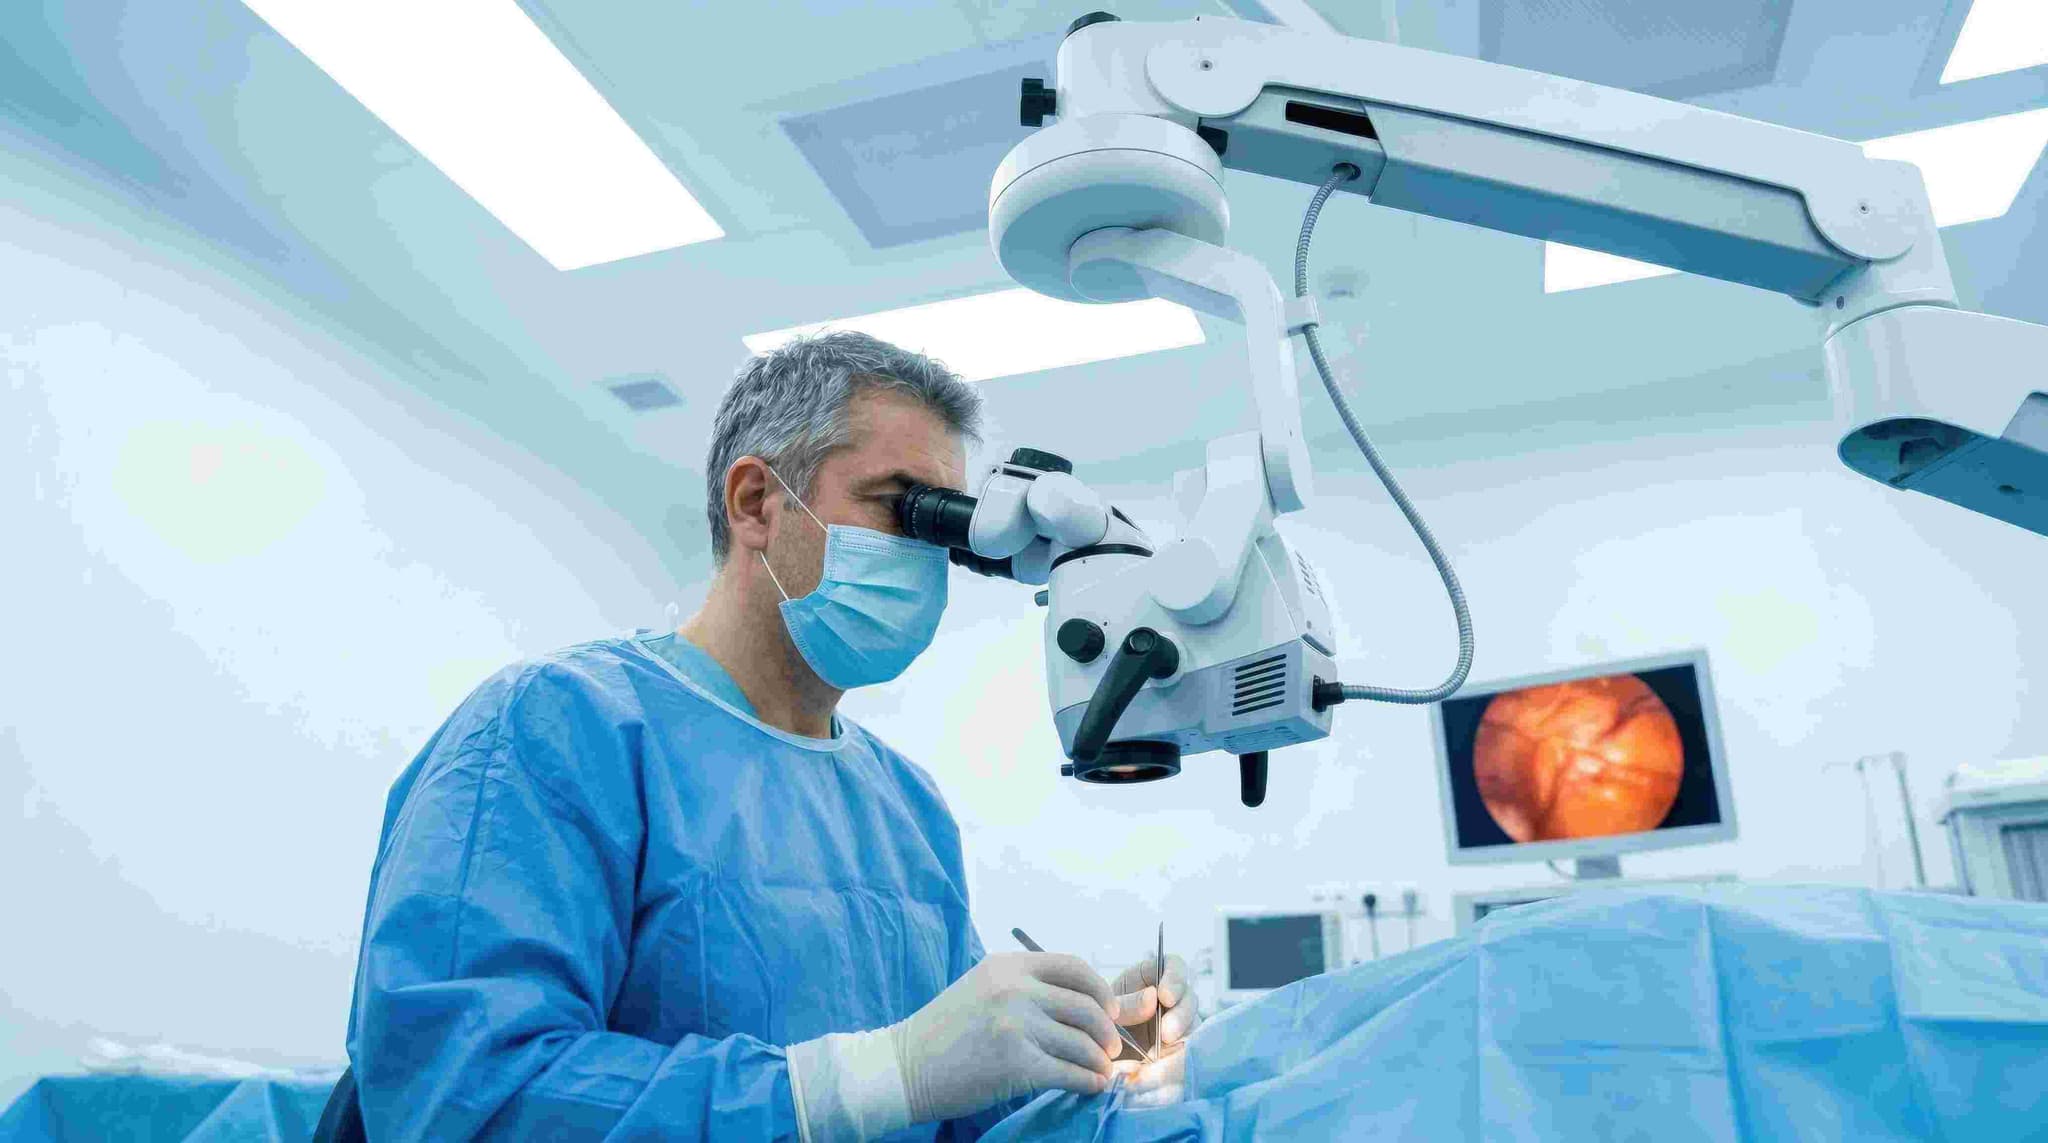
Femtosecond Laser-Assisted Cataract Surgery (FLACS) is a modern, high-precision version of cataract surgery that uses a computer-guided laser to perform several critical steps traditionally done by hand. Often referred to as "robotic" cataract surgery, it relies on advanced 3D imaging and automated laser pulses to ensure unparalleled accuracy and safety.

When You Should Consider FLACS

  • Premium Lens Selection: If you are choosing multifocal, trifocal, or toric IOLs, where perfect lens centration is critical for optimal vision.

  • Pre-existing Astigmatism: When you wish to correct corneal astigmatism during the same procedure to reduce dependence on glasses.

  • Vulnerable Corneas: For patients with conditions like Fuchs' dystrophy, where reducing surgical energy is vital to protecting the cornea.

  • Advanced Cataracts: When the lens is particularly dense, the laser can pre-soften the cataract, making removal safer.

  • Desire for Precision: When seeking the highest level of computer-guided accuracy to minimize manual variability.

How Is Performed

  • Imaging & Mapping: The surgeon uses Optical Coherence Tomography (OCT) to create a detailed 3D map of the eye's unique internal anatomy.

  • Corneal Incisions: Based on the 3D map, the laser creates ultra-precise, self-sealing incisions for surgical entry.

  • Capsulotomy: The laser creates a perfectly circular opening in the thin membrane (capsule) that holds the lens.

  • Lens Fragmentation: The laser vibrates at high speeds to soften and break the cataract into tiny pieces before any tools enter the eye.

  • Lens Removal: The pre-softened fragments are gently suctioned out using an ultrasonic probe with significantly reduced energy.

  • IOL Implantation: A permanent artificial intraocular lens (IOL) is inserted to restore clear focus.

  • Duration: The entire outpatient process typically takes between 15 and 30 minutes per eye.

Pre-Procedure Preparation

  • Detailed Biometry: Advanced laser measurements of the eye's length and curvature to select the most appropriate IOL.

  • 3D Surgical Planning: Using the OCT data to program the laser for the exact depth and location of all incisions.

  • Medication Audit: Starting antibiotic or anti-inflammatory eye drops a few days before the procedure as prescribed.

  • Fasting: Following clinical instructions regarding food and water intake on the morning of the surgery.

  • Logistics: Arranging for a companion to assist with the return home, as vision may be temporarily blurry.

Tests Before FLACS

  • Optical Coherence Tomography (OCT): To visualize the different layers of the eye and ensure the macula is healthy.

  • Topography: Mapping the surface of the cornea to plan for astigmatism correction.

  • Endothelial Cell Count: Checking the health of the inner corneal layer, especially for patients with pre-existing corneal issues.

  • Visual Field Testing: To confirm that the cataract is the primary cause of vision loss and rule out other underlying conditions.

Life After FLACS

  • Initial Vision: Many patients report clearer vision within 24 to 48 hours due to reduced intraoperative inflammation.

  • Medication: Strict adherence to antibiotic and anti-inflammatory eye drops for several weeks is necessary for healing.

  • Eye Protection: Wearing a protective shield while sleeping for the first week to prevent accidental pressure or rubbing.

  • Activity Restrictions: Patients should avoid heavy lifting, bending over, or getting water/dust in the eye for the first 2–3 weeks.

  • Long-Term Healing: While initial improvement is rapid, full stabilization of the eye typically takes 4 to 6 weeks.

Why Specialized Treatment Is Highly Effective

  • Enhanced Precision: Laser-guided steps are accurate to within a hundredth of a millimeter, significantly reducing manual variability.

  • Reduced Stress on the Eye: Because the laser pre-softens the lens, much less ultrasound energy is required, leading to faster corneal recovery.

  • Perfect Centration: The automated capsulotomy ensures the artificial lens is perfectly centered, which is vital for the performance of premium lenses.

  • Customized Correction: The laser can reshape the cornea to treat minor astigmatism with a level of accuracy difficult to achieve by hand.

  • Consistent Outcomes: The integration of real-time 3D imaging allows for a highly predictable and standardized surgical experience.

Starting Cost: $ 800

Laser Hair Removal
Laser Hair Removal

Laser hair removal is a non-invasive medical procedure in 2026 that uses concentrated beams of light to destroy hair follicles for long-term hair reduction. It is one of the most effective alternatives to traditional methods like waxing or shaving, offering smoother skin with significantly less maintenance over time.

When You Should Consider Laser Hair Removal

This procedure is ideal for individuals looking for a durable solution to unwanted body or facial hair. Key indications include:

  • Persistent Body Hair: Desire to reduce hair on the legs, back, chest, or underarms.

  • Ingrown Hairs: Chronic issues with painful "razor bumps" or folliculitis caused by shaving or waxing.

  • Sensitive Skin: Difficulty with skin irritation or "strawberry legs" following traditional hair removal.

  • Hormonal Hair Growth: Managing excess hair growth (hirsutism) on the face or body.

  • Convenience: Seeking to eliminate the time and cost associated with frequent waxing or daily shaving.

Methods of Laser Hair Removal

  • Diode Laser: A versatile 2026 standard that works well on many skin types and features high repetition rates for fast treatment.

  • Alexandrite Laser: Best suited for those with lighter skin tones and dark hair; known for its efficiency on large areas like the legs.

  • Nd:YAG Laser: The gold standard for safely treating patients with darker skin tones, as it bypasses the melanin in the skin to target the hair root.

  • Intense Pulsed Light (IPL): Technically a light therapy rather than a laser, often used for finer hair or combined with skin rejuvenation treatments.

  • Integrated Cooling Technology: Modern machines use "cryo-gen" sprays or sapphire cooling tips to protect the skin and reduce the "rubber band snap" sensation.

How Laser Hair Removal Is Performed

  • Skin Assessment: The specialist determines your skin type and hair color to select the appropriate laser wavelength and intensity.

  • Protective Measures: Both the patient and the technician wear specialized eyewear to protect the eyes from the laser's light.

  • Laser Application: The technician presses a hand-held laser device to the skin. When triggered, the laser pulse travels down the hair shaft to the follicle.

  • Follicle Destruction: The light energy converts to heat, damaging the follicle and inhibiting its ability to produce new hair.

  • Post-Treatment Cooling: A soothing aloe gel or cold compress is often applied to the area immediately after the session to reduce redness.

Pre-Procedure Preparation

  • The 24-Hour Shave: You must shave the treatment area 24 hours before your session. This ensures the laser energy is concentrated on the root rather than burning hair on the surface.

  • Avoid Root Removal: Do not wax, pluck, or thread for at least 4–6 weeks before your appointment, as the laser requires the hair root to be present to work.

  • Sun Protection: Avoid direct sun exposure and tanning beds for 2–4 weeks prior, as tanned skin is more prone to laser-induced burns.

  • Clean Skin: Ensure the treatment area is free of lotions, deodorants, perfumes, and self-tanning products on the day of the session.

Tests and Evaluations Before Treatment

  • Patch Test: Many 2026 clinics perform a small test on a discrete area to see how your skin reacts to the laser settings before a full session.

  • Medical Review: A check for photosensitizing medications (like certain antibiotics or acne treatments) that could make the skin hypersensitive.

  • Skin Typing: Utilizing the Fitzpatrick scale to ensure the laser choice matches the patient's melanin levels for maximum safety.

Life After Laser Hair Removal (Recovery)

  • Immediate Hours: Expect mild redness and swelling similar to a minor sunburn. This typically subsides within a few hours.

  • The Shedding Phase: Over the next 1–2 weeks, the "dead" hair will fall out of the follicles. This is often mistaken for new growth but is actually the body expelling the destroyed hair.

  • Session Intervals: Most patients require 6 to 8 sessions spaced 4 to 8 weeks apart to catch all hairs in the active growth (anagen) phase.

  • Long-Term Maintenance: While results are long-lasting, a touch-up session once or twice a year may be needed to manage fine new growth triggered by hormonal changes.

Benefits of Laser Hair Removal

  • Long-Term Smoothness: Provides a significant reduction in hair density that can last for years.

  • Precision: Lasers can selectively target dark, coarse hairs while leaving the surrounding skin undamaged.

  • Prevention of Ingrown Hairs: By destroying the follicle, it eliminates the risk of hair curling back into the skin.

  • Time & Cost Efficiency: While it requires an upfront investment, it removes the lifelong need for expensive razors, creams, and waxing appointments.

Laser Iridotomy
Laser Iridotomy

Laser Iridotomy, or Laser Peripheral Iridotomy (LPI), is a quick outpatient procedure used primarily to treat or prevent angle-closure glaucoma. By creating a microscopic hole in the outer edge of the iris, the procedure allows fluid to flow more freely between the back and front of the eye. This bypass balances internal pressure and prevents sudden, sight-threatening pressure spikes.

When You Should Consider Laser Iridotomy

  • Narrow-Angle Suspects: If a routine eye exam reveals that your drainage angles are naturally narrow, putting you at high risk for a sudden glaucoma "attack."

  • Acute Angle-Closure: Used as an emergency intervention during a sudden, painful spike in eye pressure to save vision.

  • Chronic Angle-Closure: For patients whose drainage system is permanently narrowed or partially blocked by the iris.

  • Preventative Care: If you have had an angle-closure attack in one eye, LPI is typically performed on the other eye as a preventative measure.

  • Anatomical Narrowing: When the iris is physically "bowed" forward, preventing the natural drainage of aqueous humor.

How Is Performed

  • Preparation: The eye is numbed with anesthetic drops. Specialized drops (like pilocarpine) are used to constrict the pupil, which thins the iris and makes it easier for the laser to penetrate.

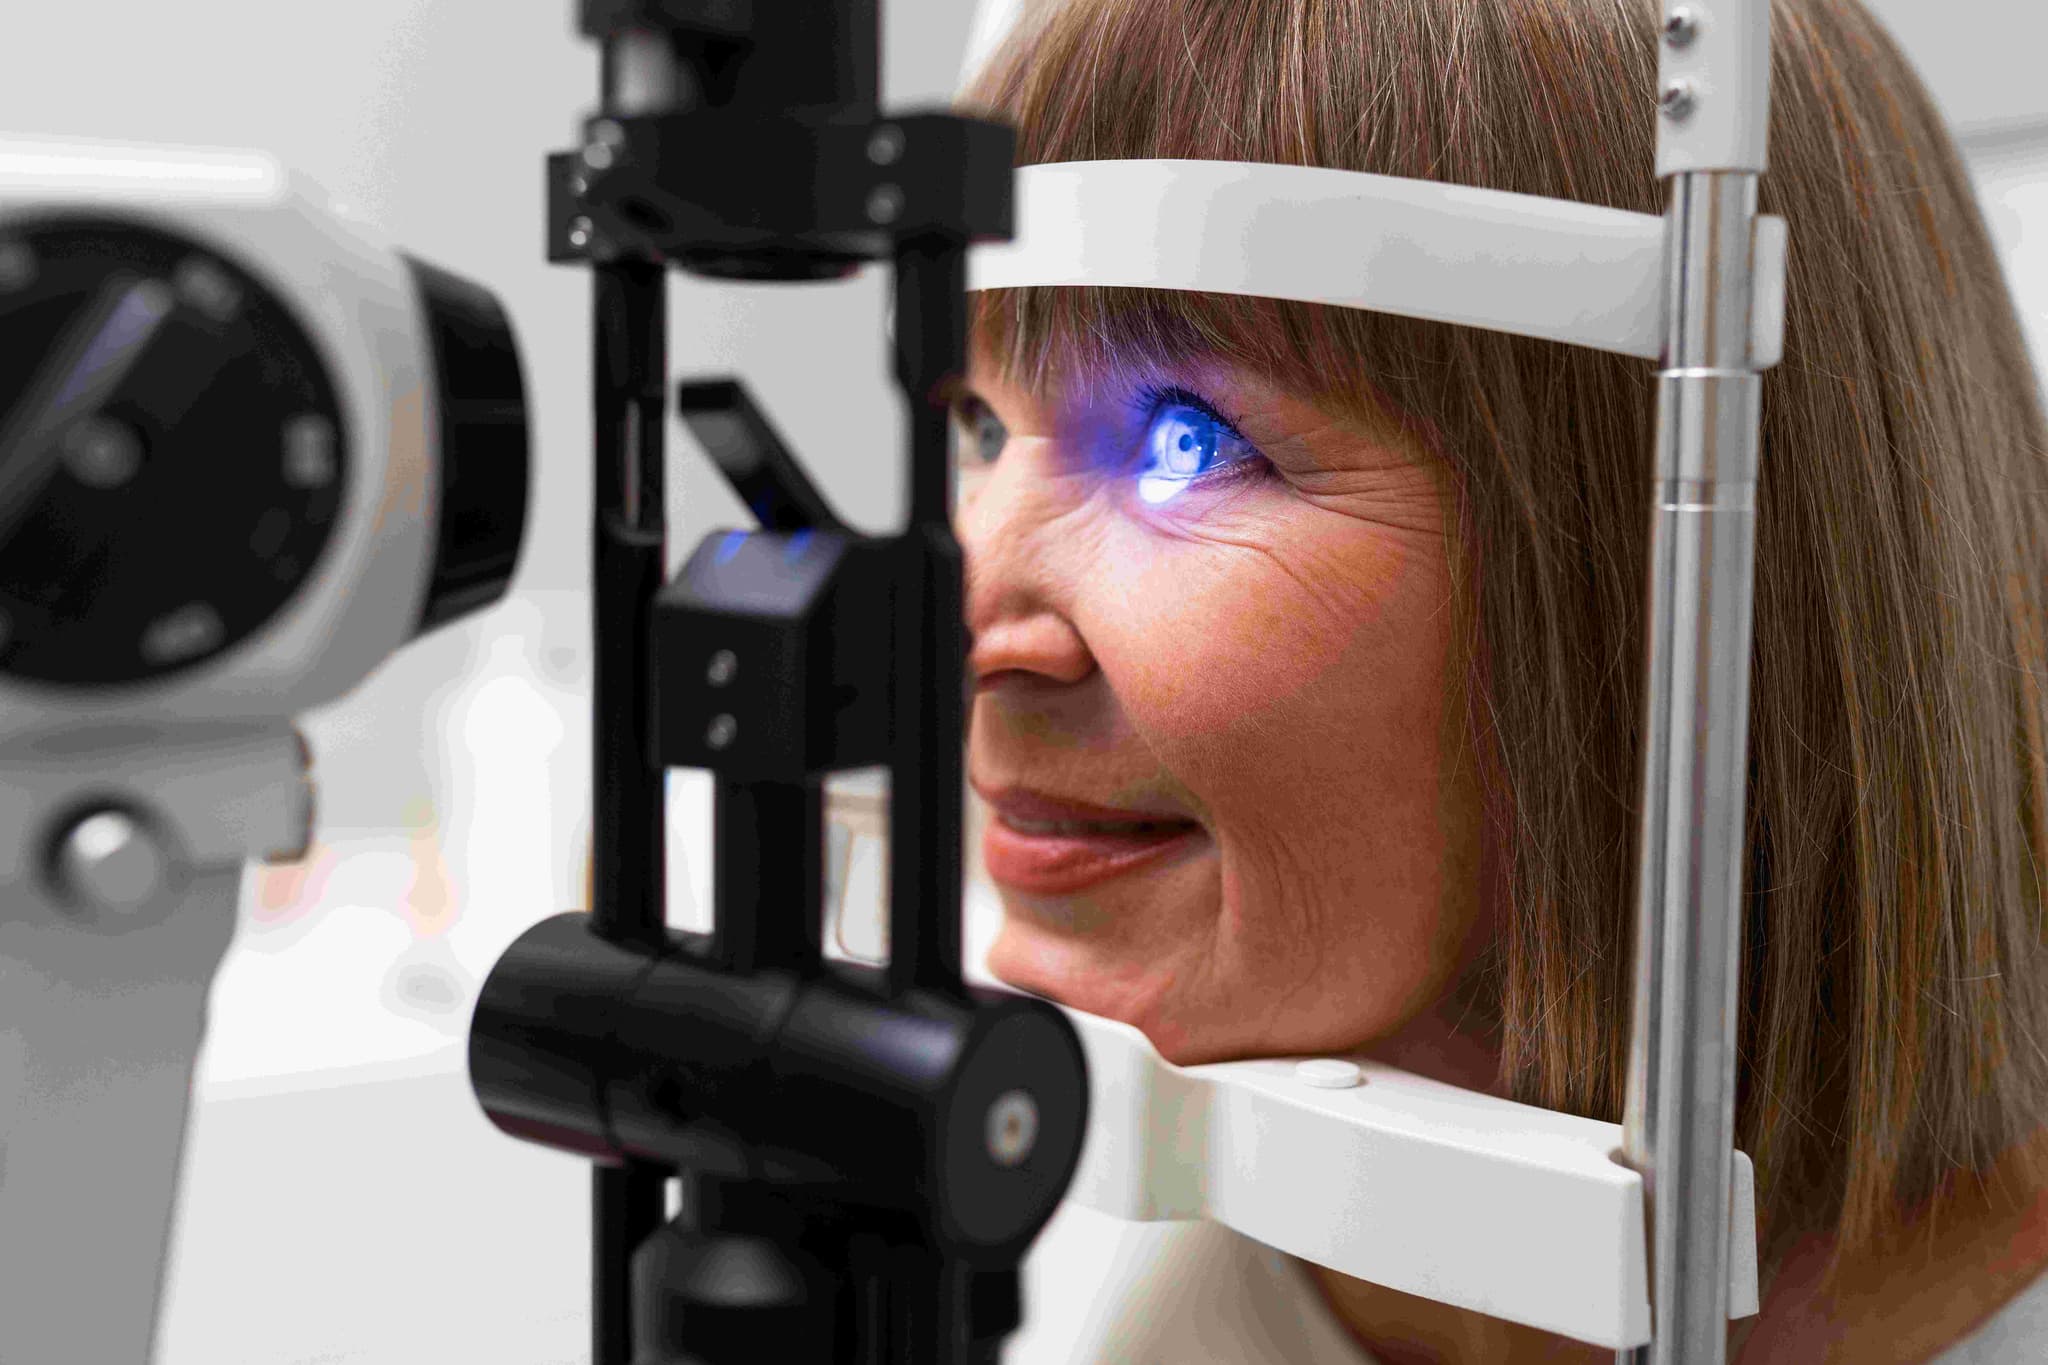
  • Positioning: You sit at a slit-lamp machine—similar to a standard eye exam microscope—with your chin and forehead in a steady rest.

  • Focusing: A specialized contact lens is placed on the eye to focus the laser beam and keep your eyelids open during the pulses.

  • Laser Application: The surgeon uses a focused laser (commonly a YAG or Argon laser) to create a tiny opening in the outer edge of the iris, usually hidden under the upper eyelid.

  • Monitoring: You will remain at the clinic for 30 minutes to 2 hours post-procedure so the specialist can check for any immediate spikes in eye pressure.

  • Duration: The procedure is typically completed in 5 to 15 minutes per eye.

Pre-Procedure Preparation

  • Gonioscopy: A specialized diagnostic exam to view the drainage angle and confirm that the iris is causing the obstruction.

  • Medication Review: Discussing any blood thinners or history of eye inflammation (uveitis) with your surgeon.

  • Pupil Preparation: Being aware that the constricting drops used before surgery may cause a temporary brow ache or dim vision.

  • Transportation: Arranging for a ride home, as your vision may be temporarily blurred from the specialized lenses and laser light.

Tests Before Laser Iridotomy

  • Intraocular Pressure (IOP) Check: Establishing a baseline pressure to compare against post-laser readings.

  • Anterior Segment OCT: A high-resolution scan that provides a cross-sectional view of the drainage angle and iris position.

  • Visual Acuity: Measuring your current vision to ensure the laser treatment does not affect your baseline sight.

  • Slit-Lamp Examination: A microscopic check of the iris thickness and the health of the cornea before the laser application.

Life After Laser Iridotomy

  • Initial Recovery: Most patients return to normal activities within 24 to 48 hours.

  • Common Symptoms: Temporary blurred vision, mild headache, light sensitivity, or a "gritty" feeling in the eye are normal for a day or two.

  • Medication: You will be prescribed anti-inflammatory (steroid) eye drops to use for about a week to ensure the microscopic hole stays open and heals.

  • Activity Restrictions: Avoid strenuous exercise, heavy lifting, or rubbing the eyes for the first 2–3 days.

  • Follow-up: A pressure check and gonioscopy are usually performed 1 to 2 weeks later to confirm the angle has successfully opened.

Why Specialized Treatment Is Highly Effective

  • Prevents Blindness: It is the primary defense against acute angle-closure glaucoma, which can cause permanent blindness in hours if untreated.

  • Minimally Invasive: Requires no surgical incisions, no stitches, and is performed entirely in an office setting.

  • Permanent Solution: Once the microscopic hole is created and healed, it typically provides a life-long pathway for fluid flow.

  • Rapid Results: The internal pressure often begins to stabilize immediately after the bypass is created.

  • High Safety Profile: Complications are uncommon, and the procedure is considered the global standard of care for narrow-angle conditions.

Starting Cost: $ 100

Laser Photocoagulation

Laser photocoagulation is a specialized medical procedure that utilizes a precise, high-energy beam of light to treat various retinal disorders. By creating microscopic thermal burns in targeted areas of the retina, the laser induces the formation of scar tissue. This tissue is used to seal leaking blood vessels, shrink abnormal ones, or "weld" retinal tears to the underlying tissue to prevent detachment.

When You Should Consider Laser Photocoagulation

  • Diabetic Macular Edema (DME): To seal specific leaking blood vessels that cause swelling in the central vision (macula).

  • Proliferative Diabetic Retinopathy (PDR): If you need to shrink abnormal, fragile blood vessels to prevent severe internal bleeding or vision loss.

  • Retinal Tears or Holes: To repair structural breaks in the retina before they progress into a full retinal detachment.

  • Vision Stabilization: When seeking to stop the progression of retinal diseases and prevent further deterioration of your sight.

  • Reducing Oxygen Demand: In advanced disease, to protect the overall health of the eye by treating peripheral areas.

How Is Performed

  • Dilation: The pupil is dilated with drops to provide the specialist a clear, wide-angle view of the retina.

  • Numbing: Anesthetic drops are applied to the surface of the eye to ensure the procedure is generally painless.

  • Positioning: The patient sits at a slit-lamp microscope—similar to a standard eye exam—with their chin and forehead held steady in a rest.

  • Application: A specialized contact lens is placed on the eye to focus the high-energy laser pulses exactly where they are needed.

  • Duration: The clinical session typically lasts between 15 and 30 minutes, depending on the number of laser spots required.

Methods of Laser Treatment

  • Focal Laser Treatment: Aiming small, individual laser spots directly at specific leaking vessels to reduce swelling in the macula.

  • Pan-Retinal Photocoagulation (PRP): Applying hundreds to thousands of laser burns to the peripheral retina to shrink abnormal vessels in advanced diabetic disease.

  • Laser Retinopexy: Creating a protective "wall" of scar tissue around a retinal break to prevent fluid from passing underneath it.

  • Thermal Coagulation: The process of converting high-energy light into localized heat to achieve targeted tissue sealing.

Pre-Procedure Preparation

  • Retinal Roadmap: A detailed examination to identify the specific areas of leakage or tearing that require treatment.

  • Goal Setting: Discussing the primary goal of the treatment, which is typically to stabilize current vision rather than restore sight already lost to disease.

  • Transportation: Arranging for a driver to take you home, as your vision will be temporarily dazzled and blurred from the dilation and laser light.

  • Vision Awareness: Reviewing potential impacts on peripheral or night vision, especially if you are undergoing extensive Pan-Retinal Photocoagulation (PRP).

  • Physical Comfort: Ensuring you are comfortable sitting still for up to 30 minutes with your head in a fixed position.

Tests Before Laser Photocoagulation

  • Optical Coherence Tomography (OCT): A high-resolution scan used to measure retinal swelling and pinpoint leaking vessels for focal treatment.

  • Fluorescein Angiography: A diagnostic map that uses a special dye to highlight areas of abnormal blood vessel growth and active leakage.

  • Visual Acuity Test: Establishing a precise baseline of your current vision quality before the procedure.

  • Slit-Lamp Examination: Providing the surgeon with a high-magnification view of the back of the eye to plan the laser application.

Life After Laser Photocoagulation

  • Recovery Window: Expect blurred or "dazzled" vision for the first 24 hours due to the combined effects of the laser pulses and pupil dilation.

  • Activity Resumption: Most normal activities can be resumed within a few hours, though you should avoid strenuous exercise for 1 to 2 weeks if treated for a retinal tear.

  • Healing Timeline: Monitor for the shrinkage of abnormal vessels, a process that can take approximately 2 to 3 months to complete.

  • Follow-up Care: Regular appointments are necessary for several months to ensure the retina is healing correctly and no new leaks have developed.

  • Visual Artifacts: Be aware that you may notice small, permanent blind spots or floaters in the peripheral areas treated by the laser.

Why Specialized Treatment Is Highly Effective

  • Significant Risk Reduction: Reduces the risk of severe, permanent vision loss by over 50% in advanced diabetic cases.

  • Non-Invasive Solution: Provides a targeted, outpatient solution for life-altering conditions without the need for traditional surgery.

  • Prevents Major Detachments: Effectively "welds" retinal tissue in place, often preventing the need for much more complex surgical interventions.

  • Fragile Vessel Control: Shrinks dangerous, abnormal blood vessels to prevent sudden and severe vitreous hemorrhages (bleeding inside the eye).

  • Precision Focus: Utilizes a highly targeted approach that focuses energy only on diseased tissue while sparing as much healthy retina as possible.

Starting Cost: $ 150

Laser Prostate Surgery (HoLEP / ThuLEP)

Laser prostate surgery, specifically HoLEP (Holmium Laser Enucleation of the Prostate) and ThuLEP (Thulium Laser Enucleation of the Prostate), is a modern, bloodless alternative to traditional TURP. Instead of shaving the prostate in small pieces, the laser "peels" the obstructing tissue away as a whole, making it highly effective for even the largest prostate glands.

When You Should Consider Laser Prostate Surgery

  • Very Large Prostate: Especially effective for prostates over 80–100 grams that are too large for standard TURP.

  • High Risk of Bleeding: Ideal for patients who cannot safely stop blood thinners, due to the laser's superior vessel-sealing properties.

  • Severe Urinary Retention: When a patient is completely unable to pass urine and requires a catheter.

  • Recurrent Prostate Issues: For those who have had previous prostate surgery and are experiencing regrowth of obstructing tissue.

  • Desire for Fast Recovery: For patients who want a shorter hospital stay and quicker removal of the urinary catheter.

Methods of Laser Prostate Surgery

  • HoLEP (Holmium Laser): Uses a "pulsed" laser beam, which is excellent for "blunt dissection" (peeling) the prostate lobes away from the capsule.

  • ThuLEP (Thulium Laser): Uses a "continuous wave" laser that provides smoother cutting and even better blood vessel sealing (hemostasis).

  • Enucleation Technique: The surgeon uses the laser to peel away the entire obstructing lobe, similar to removing the flesh of an orange from its peel.

  • Morcellation: A specialized "blender-like" device is used to grind the large peeled-off lobes inside the bladder and vacuum them out.

  • Transurethral Access: The entire procedure is performed through the urethra using a laser-integrated scope, requiring no external incisions.

How the Procedure Is Performed

  • Anesthesia: Performed under General Anesthesia or Spinal Anesthesia to ensure the patient is completely still and pain-free.

  • Laser Dissection: The laser fiber is used to cut along the "capsule" of the prostate, separating the obstructing tissue from the healthy outer shell.

  • Simultaneous Cauterization: As the laser cuts, it seals every blood vessel it touches, resulting in minimal to no blood loss.

  • Intra-vesical Morcellation: Once the tissue is moved into the bladder, the morcellator sucks up and removes the fragments in a matter of minutes.

  • Final Inspection: The surgeon verifies that the bladder is clear of debris and that there is no active bleeding before finishing.

  • Catheter Placement: A Foley catheter is inserted at the end of the procedure, which is typically removed within 24 hours.

Pre-Procedure Preparation

  • Imaging & Size Check: An Ultrasound (TRUS) or MRI is performed to measure the exact prostate volume and map the anatomy.

  • Urine Culture: A sterile urine sample is mandatory; any active infection must be treated with antibiotics before the laser is used.

  • Medication Audit: Patients on Aspirin or Warfarin usually stop these 5–7 days prior, though some laser cases can proceed while on thinners if necessary.

  • Fasting: Maintaining a "nil per oral" (NPO) status for 6–8 hours before the operation for anesthesia safety.

  • Medical Clearance: Ensuring heart and lung fitness for the procedure, especially since it is often performed on older patients.

Pre-Surgery Tests

  • Uroflowmetry: To measure the baseline speed and force of the urine stream before surgery.

  • Post-Void Residual (PVR) Volume: An ultrasound test to see how much urine remains in the bladder after peeing.

  • PSA Blood Test: To screen for prostate-specific antigen levels and rule out other underlying conditions.

  • Basic Metabolic Panel: Checking kidney function (Creatinine) and electrolytes to ensure the body can handle the procedure.

  • Coagulation Profile: Testing the blood's ability to clot (PT/INR) to ensure a safe, bloodless surgical outcome.

Life After Laser Prostate Surgery (Recovery & Risks)

  • Hospital Stay: Usually a 24-hour stay; many patients are discharged the very next morning after the catheter is removed.

  • Immediate Results: Most patients notice an immediate, forceful urine stream once the initial catheter is taken out.

  • Hydration Therapy: Drinking 2.5–3 litres of water daily for the first week is essential to flush out any minor laser-charred debris.

  • Activity Rules: You can usually return to desk work within 3–5 days, but avoid heavy lifting (over 10 kg) for at least 2 weeks.

  • Retrograde Ejaculation: This is common (90% of cases), where semen travels into the bladder during orgasm; it is harmless but affects fertility.

  • Temporary Urgency: A frequent "urge" to pee or minor leaking may occur for the first few weeks as the internal capsule heals.

Why Specialized Treatment Is Highly Effective

  • Superior Hemostasis: The laser's ability to seal vessels as it cuts makes this the safest option for patients with bleeding disorders or heart issues.

  • Complete Tissue Removal: By following the natural "capsule," laser surgery removes more obstructing tissue than TURP, reducing the risk of regrowth.

  • Shorter Catheter Time: Most patients are catheter-free within 24 hours, significantly reducing the risk of catheter-associated infections.

  • Treatment of Any Size: Unlike other minimally invasive methods, HoLEP and ThuLEP can treat prostates of virtually any size (even over 200 grams).

  • Minimal Side Effects: Lower risk of "TURP Syndrome" and other fluid-balance complications due to the use of saline irrigation.

Starting Cost: $ 1000

Laser Skin Resurfacing

Laser skin resurfacing is a facial rejuvenation procedure in 2026 that uses concentrated beams of light to remove damaged skin layer by layer. This process precisely targets imperfections such as wrinkles, scars, and uneven pigmentation while stimulating the growth of new collagen fibers to create smoother, firmer skin.

When You Should Consider Laser Resurfacing

This procedure is ideal for individuals looking to address surface imperfections and signs of aging. Key indications include:

  • Fine Lines and Wrinkles: Effectively reducing "crow's feet" and lines around the mouth or forehead.

  • Acne and Surgical Scars: Smoothing out the texture of the skin and reducing the visibility of old scars.

  • Sun Damage: Correcting "liver spots" or age spots and evening out skin tone.

  • Uneven Texture: Refining enlarged pores and smoothing rough patches of skin.

  • Mild Skin Laxity: Providing a subtle "tightening" effect by boosting collagen production.

Primary Laser Types in 2026

  • Ablative Lasers (CO2, Erbium): High-intensity "wounding" lasers that remove the entire outer layer of skin. They offer dramatic results for deep wrinkles but require the most recovery time.

  • Non-Ablative Lasers: These heat the deeper tissue without damaging the surface. They are excellent for mild texture issues and require minimal downtime.

  • Fractional Lasers: The modern standard that treats only a "fraction" of the skin with microscopic columns of light. This leaves surrounding tissue intact, leading to much faster healing.

  • UltraClear Lasers: A 2026 advancement designed to be safe and effective for all skin tones, including darker Fitzpatrick types, with reduced risk of pigmentation issues.

  • Pulsed-Dye Lasers: Often used to target redness, broken capillaries, and vascular lesions.

How Laser Resurfacing Is Performed

  • Skin Preparation: The area is thoroughly cleansed, and the patient is provided with protective eyewear.

  • Anesthesia: Depending on the depth of the treatment, a topical numbing cream, local anesthetic injections, or sedation is administered.

  • Laser Application: The technician moves the laser handpiece across the skin. The device delivers precise pulses of light to vaporize or heat the targeted layers.

  • Collagen Stimulation: While the surface is treated, the heat reaches the dermis to trigger the body's natural healing response.

  • Post-Procedure Protection: A thick layer of protective ointment and sometimes a dressing is applied to the treated area to lock in moisture.

Pre-Procedure Preparation

  • Medication Review: Patients may be prescribed an antiviral medication (especially if prone to cold sores) and an antibiotic to prevent infection.

  • Sun Avoidance: Strict sun protection is required for at least 4 weeks prior to the session to prevent complications.

  • Skincare Adjustment: Stopping the use of retinoids or glycolic acids 1–2 weeks before treatment to avoid over-sensitizing the skin.

  • Smoking Cessation: Stopping smoking at least 2 weeks before and after is critical to ensure proper blood flow for healing.

Tests and Evaluations Before Treatment

  • Skin Type Assessment: Using the Fitzpatrick scale to determine the safest laser settings and wavelength for your specific complexion.

  • Medical History Check: Screenings for history of keloid scarring, recent Accutane use, or active skin infections.

  • 3D Skin Imaging: Many 2026 clinics use high-resolution imaging to map sun damage and wrinkle depth before starting.

Life After Laser Resurfacing (Recovery)

  • Days 1–5: The skin feels like a severe sunburn. Redness, swelling, and itching are universal. Oozing may occur with deeper ablative treatments.

  • The Peeling Phase: Around days 5–7, the old skin begins to peel away. It is vital to never pick at the skin, as this can cause permanent scarring.

  • Returning to Routine: Surface healing is typically complete by week 3, at which point most patients can return to work and use gentle, oil-free makeup.

  • Long-Term Remodeling: While initial results are seen within weeks, collagen continues to rebuild for 3–6 months, further improving skin firmness.

Benefits of Laser Skin Resurfacing

  • High Precision: Allows surgeons to target specific wrinkles or scars without affecting the healthy surrounding tissue.

  • Significant Texture Improvement: Provides a "new skin" effect that is more vibrant and smoother than topical treatments.

  • Long-Lasting Rejuvenation: The boost in collagen can keep the skin looking youthful for several years, provided a good skincare routine is maintained.

  • Versatility: Can be customized from a "lunchtime" peel with zero downtime to a deep reconstructive treatment.

Laser Varicose Vein Treatment

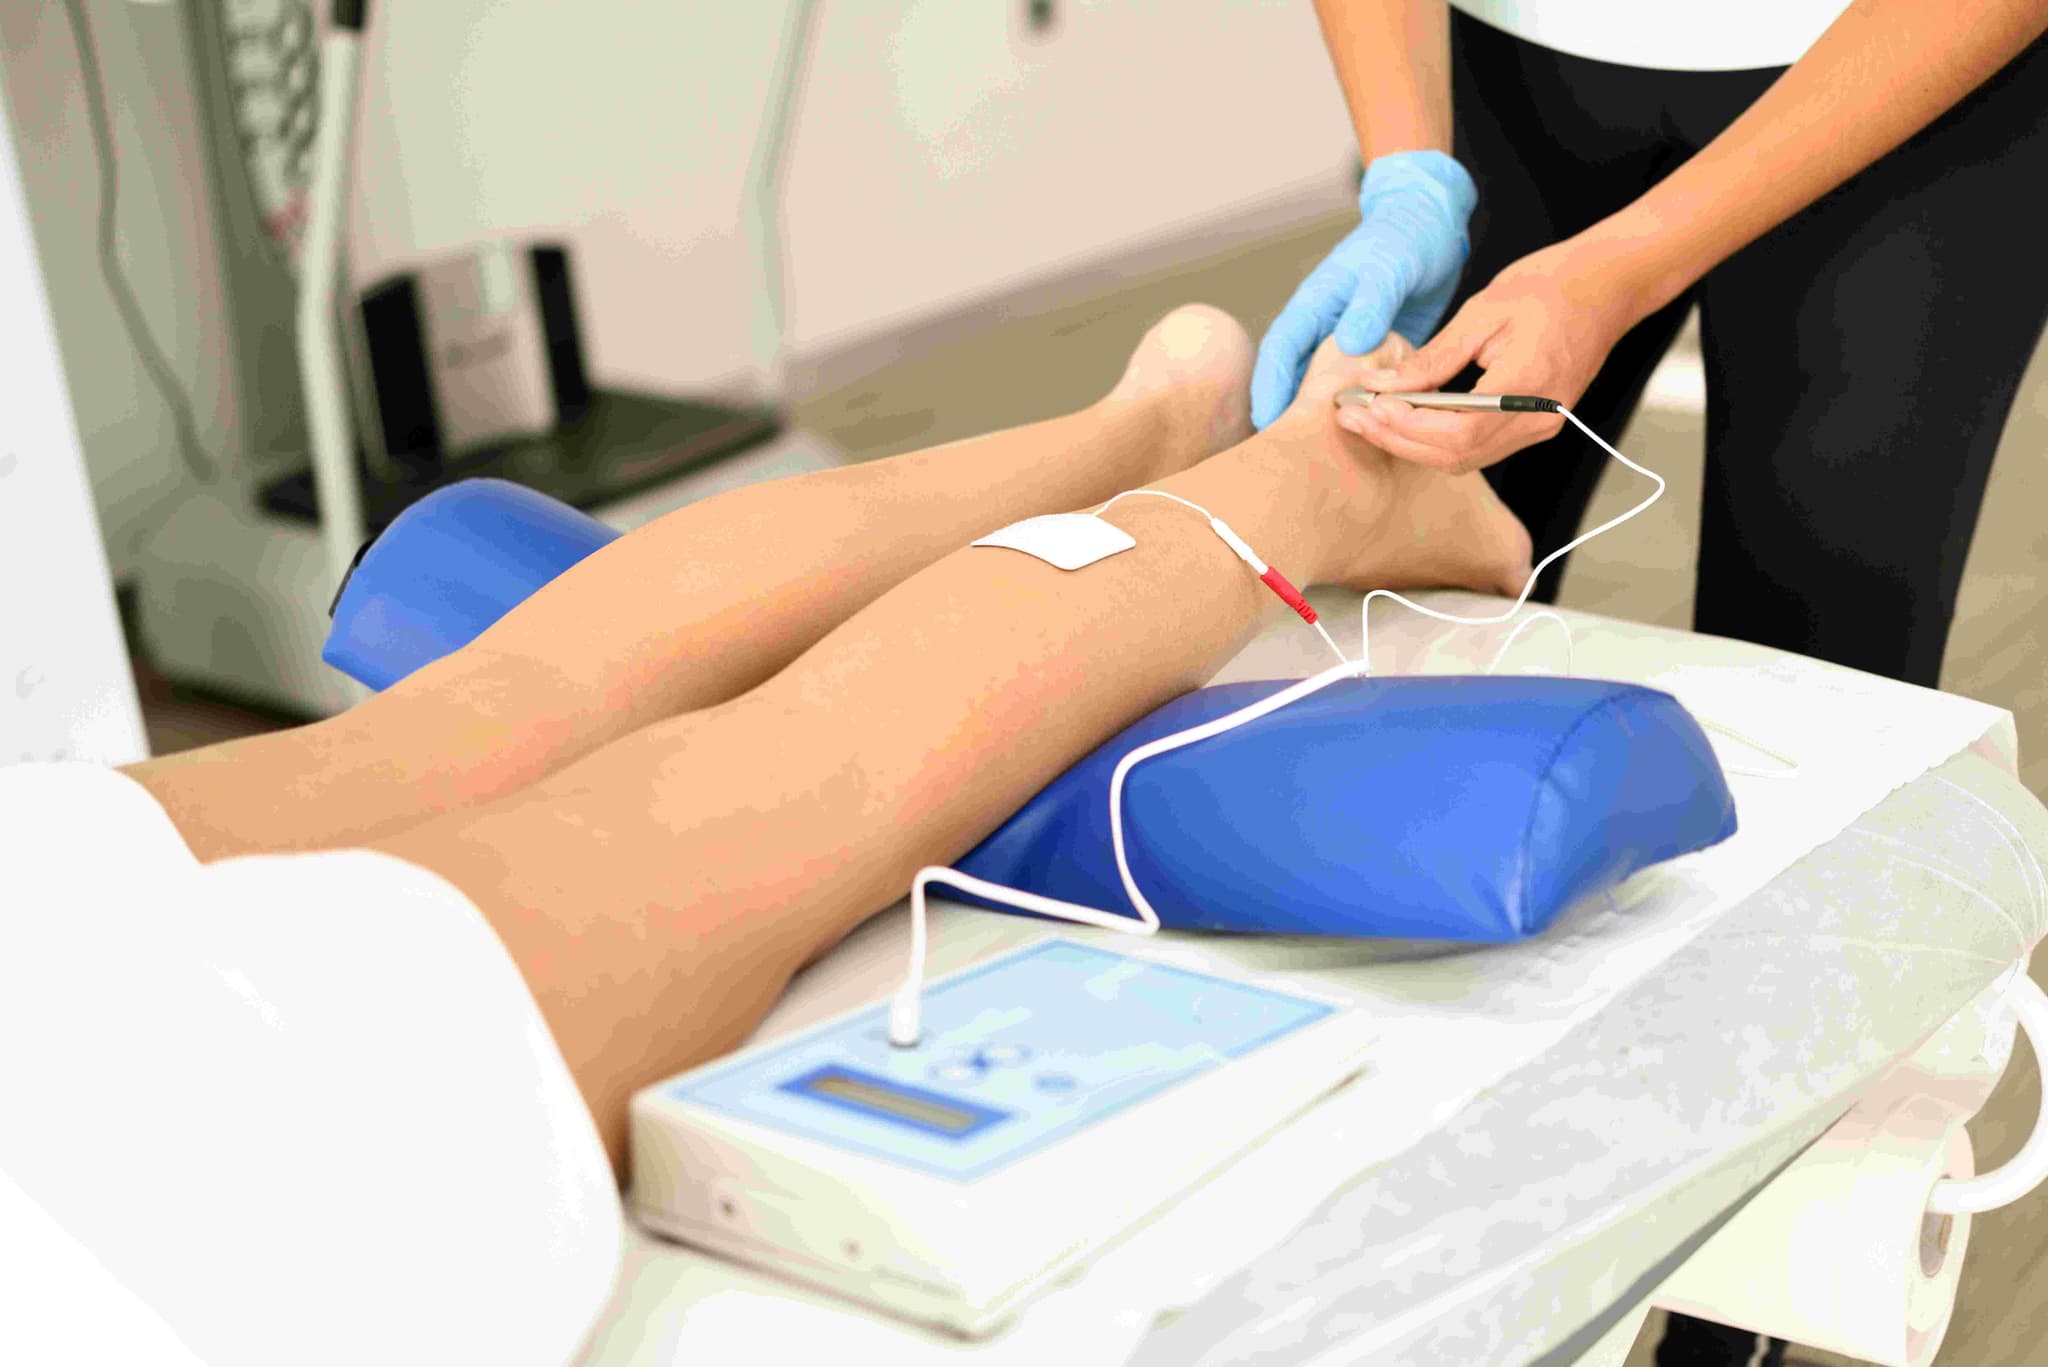
Laser Varicose Vein Treatment, scientifically known as Endovenous Laser Ablation (EVLA) or EVLT, is a minimally invasive procedure used to seal shut diseased veins. Unlike traditional "vein stripping," this approach uses targeted laser heat to collapse the vein from the inside, naturally rerouting blood flow to healthier veins. It is considered the modern gold standard for treating the underlying cause of painful, bulging varicose veins.

When You Should Consider Laser Varicose Vein Treatment

  • Chronic Venous Insufficiency: When leaky valves in the leg veins cause blood to pool, leading to leg heaviness, aching, and swelling.

  • Bulging Varicose Veins: Large, twisted veins on the surface of the legs that are often painful or cause skin irritation.

  • Venous Ulcers: Open sores near the ankles caused by long-term high pressure in the leg veins.

  • Phlebitis: Recurrent inflammation or painful "clots" in the superficial veins.

  • Skin Changes: Brownish discoloration (hyperpigmentation) or thickening of the skin near the ankles, which indicates advanced vein disease.

Methods of Laser Varicose Vein Treatment

  • Endovenous Laser Ablation (EVLA): The primary method using a specialized laser fiber to deliver heat energy directly to the vein wall.

  • Radiofrequency Ablation (RFA): A similar technique that uses high-frequency electrical energy instead of light to generate heat and close the vein.

  • Ultrasound-Guided Sclerotherapy: Often used as a secondary treatment to close smaller "branch" veins that remain after the main vein is sealed.

  • VenaSeal (Medical Adhesive): A non-thermal alternative that uses a specialized medical "glue" to seal the vein without the need for heat or tumescent numbing.

  • Clarivein (MOCA): A mechanical-chemical approach that uses a rotating wire and a liquid sclerosant to close the vein without heat.

How Laser Varicose Vein Treatment Is Performed

  • Mapping: Under ultrasound guidance, the surgeon identifies the exact "leaky" segment of the Great Saphenous Vein or Small Saphenous Vein.

  • Access: A tiny needle is used to create a small "stab" entry point, usually near the knee or ankle.

  • Fiber Placement: A thin laser fiber is threaded through a catheter and positioned at the top of the diseased vein, near the groin or behind the knee.

  • Tumescent Anesthesia: A large volume of numbing fluid (lidocaine and saline) is injected around the vein. This "cushion" numbs the area and protects the skin and nerves from the laser's heat.

  • Laser Activation: As the surgeon slowly withdraws the fiber, the laser emits intense light energy that collapses and seals the vein wall.

  • Completion: The fiber is removed, and since the entry point is so small, no stitches are required—only a simple adhesive bandage.

[Image showing the steps of EVLT from catheter insertion to vein closure]

Pre-Procedure Preparation

  • Venous Doppler Ultrasound: A mandatory "mapping" scan to identify the location of leaky valves and measure the diameter of the veins.

  • Compression Fitting: Patients should be measured for medical-grade compression stockings to be worn immediately after the procedure.

  • Attire: Wear loose-fitting clothing or shorts to the clinic to accommodate the bandages and stockings.

  • Medication: Most patients can continue their normal medications, as the procedure is performed under local rather than general anesthesia.

Tests Before Laser Varicose Vein Treatment

  • Duplex Ultrasound: The primary tool used to confirm "reflux" (blood flowing the wrong way) and plan the surgical path.

  • Visual Assessment: To document the presence of edema (swelling), skin changes, or ulcers for insurance and clinical staging.

  • Ankle-Brachial Index (ABI): Occasionally performed to ensure the arterial circulation in the legs is healthy before applying high-pressure compression.

Life After Laser Varicose Vein Treatment

  • Immediate Mobilization: This is a "walk-in, walk-out" procedure; you are required to walk for 15–20 minutes immediately after the session.

  • Compression Therapy: High-pressure stockings must be worn 24/7 for the first 3–7 days, and then during the day for another 1–2 weeks to ensure the vein remains closed.

  • Activity: Normal daily activities and walking can resume immediately. However, heavy weightlifting and hot baths should be avoided for 2 weeks.

  • Healing Sensations: It is normal to feel a "tightness" or a pulling sensation along the inner thigh for 5–10 days as the vein naturally turns into scar tissue.

  • Follow-up Scan: An ultrasound is typically performed within the first week to confirm the vein is successfully occluded and to rule out any deep vein clots.

Benefits of Laser Varicose Vein Treatment

  • Extremely High Success Rate: Over 95% of treated veins remain permanently closed and are eventually absorbed by the body.

  • No Surgical Incisions: Eliminates the need for large cuts, preventing scarring and significantly reducing the risk of infection.

  • Minimal Downtime: Most patients return to work the following day with very little discomfort.

  • Symptom Relief: Provides rapid relief from the "heavy leg" sensation, aching, and nighttime cramping associated with venous disease.

  • Cosmetic Improvement: Bulgy surface veins often shrink or disappear once the high-pressure "root cause" is sealed shut.

Starting Cost: $ 500

Myomectomy (Open/Laparoscopic/Robotic)

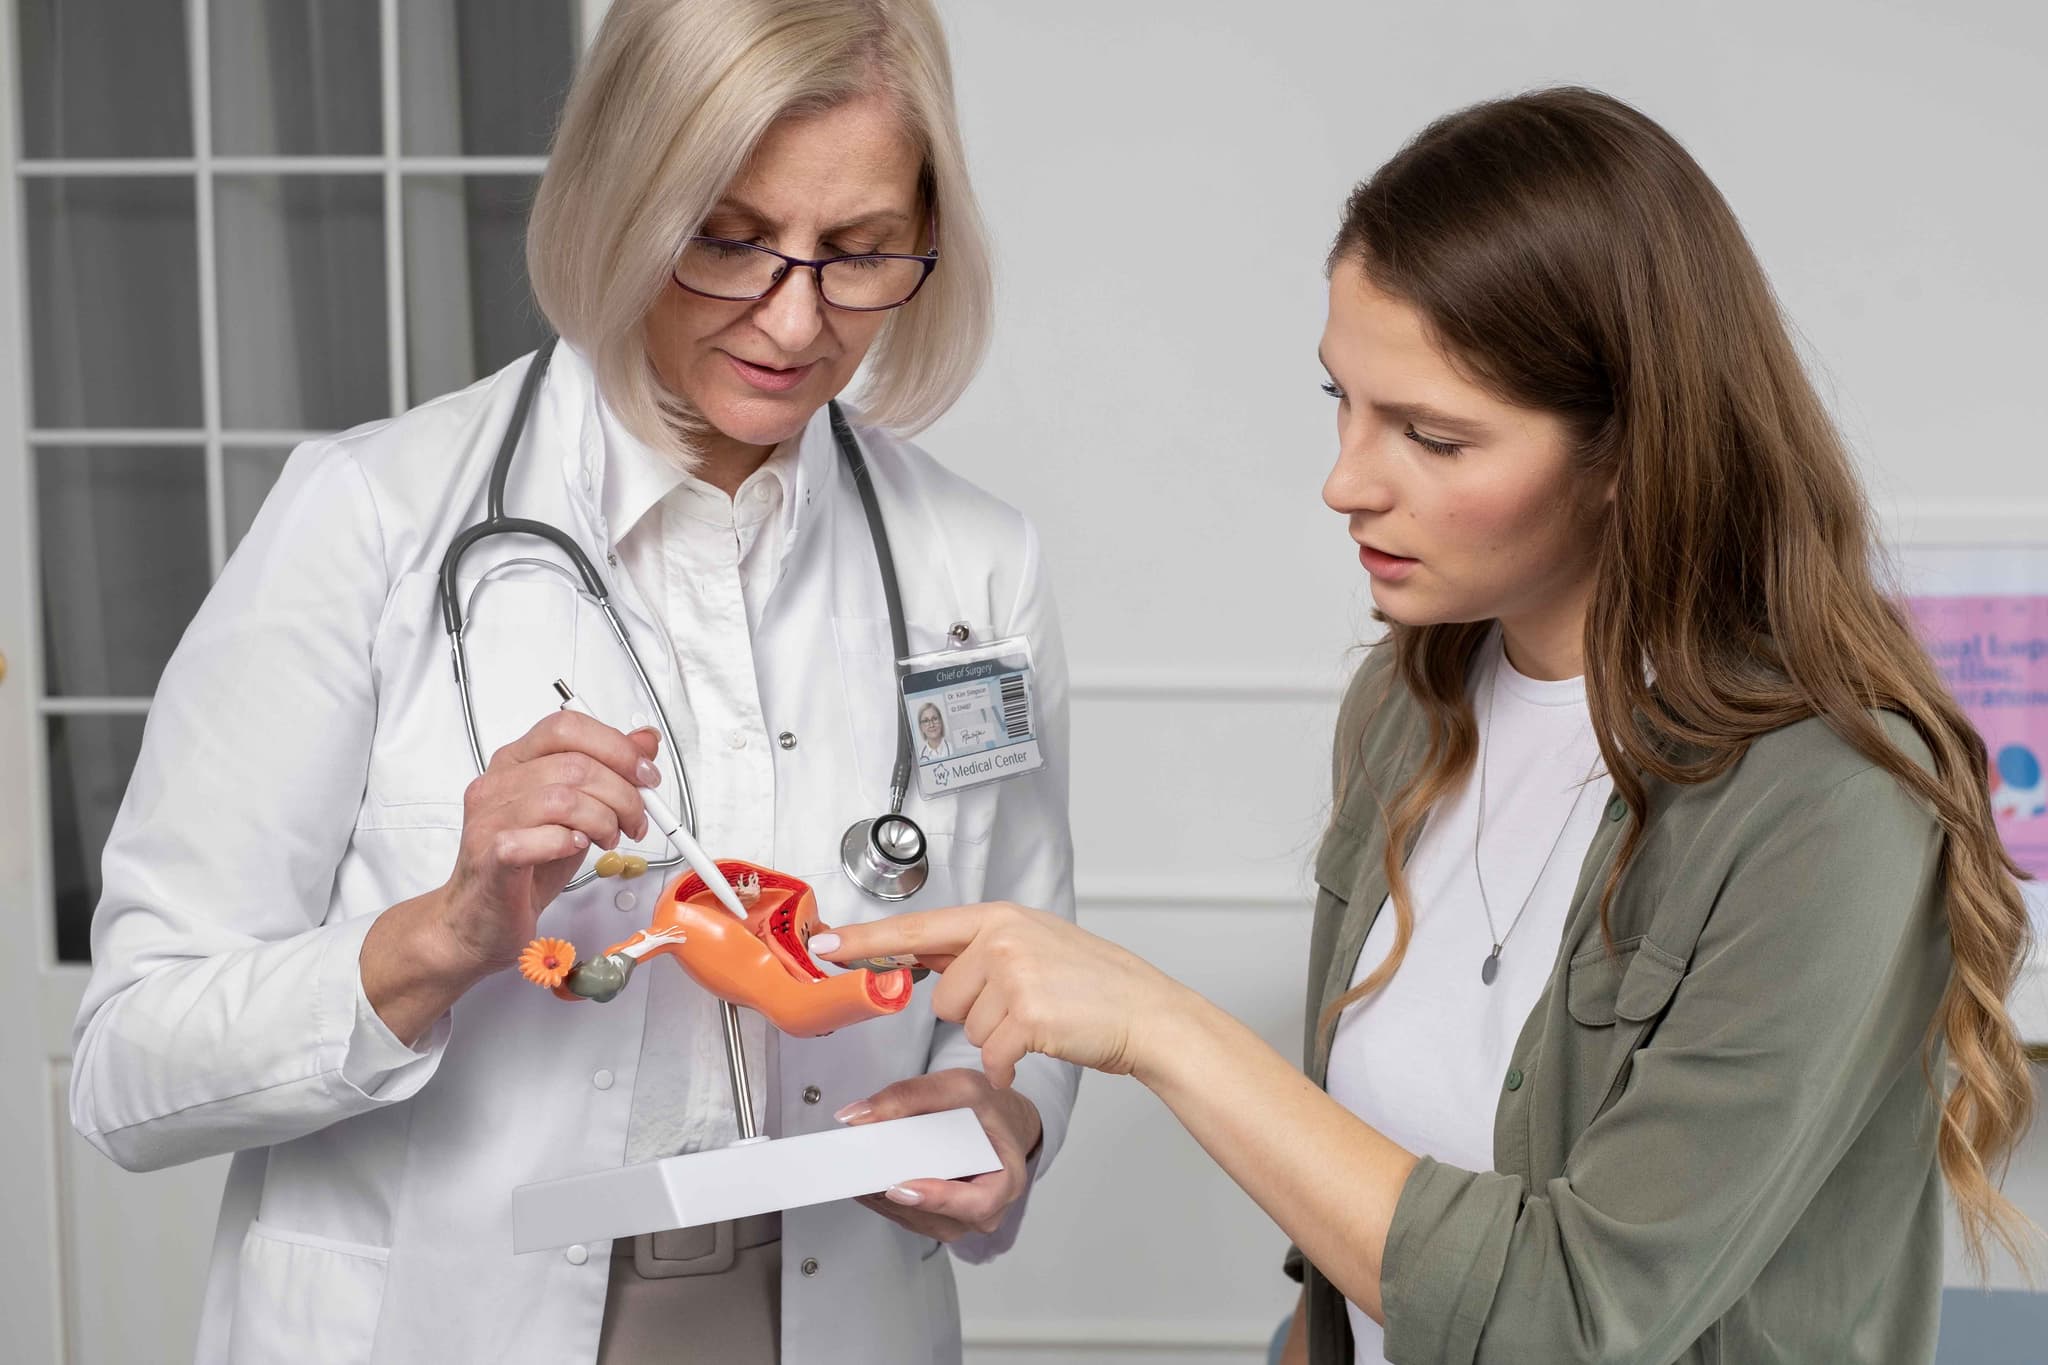
A myomectomy is a surgical procedure to remove uterine fibroids (benign growths) while keeping the uterus intact. Unlike a hysterectomy, it preserves fertility and is the preferred option for women who wish to become pregnant or maintain their uterine health. This procedure specifically targets the fibroids while surgically repairing the uterine wall.

When You Should Consider a Myomectomy

  • Fertility Preservation: For women who plan to have children in the future and need to keep the uterus functional.

  • Heavy Menstrual Bleeding: When fibroids cause anemia, flooding, or prolonged periods that disrupt daily life.

  • Pelvic Pain or Pressure: Large fibroids pressing on the bladder (causing frequent urination) or the rectum.

  • Infertility or Miscarriage: When fibroids distort the uterine cavity and interfere with embryo implantation or maintenance of pregnancy.

  • Rapid Growth: If ultrasound monitoring shows fibroids are growing quickly, even if they are currently asymptomatic.

Surgical Approaches

  • Abdominal Myomectomy (Open): A traditional "bikini cut" horizontal incision is made in the lower abdomen. This is used for very large fibroids (typically over 10 cm), numerous growths, or those buried deep in the uterine wall.

  • Laparoscopic Myomectomy: Performed through 3–4 tiny "keyhole" incisions. The surgeon uses a camera and specialized tools to cut the fibroids into smaller pieces (morcellation) for removal through the small ports.

  • Robotic-Assisted Myomectomy: Similar to the laparoscopic approach, but the surgeon operates via a robotic console. This provides superior 3D visualization and greater precision, which is helpful for complex or hard-to-reach fibroids.

  • Hysteroscopic Myomectomy: No abdominal incisions are made. A specialized scope is inserted through the cervix to remove fibroids that are bulging into the uterine cavity (submucosal fibroids).

How Is Performed

  • Anesthesia: The surgery is performed under general anesthesia and typically takes between 1 to 3 hours depending on the number of fibroids.

  • Incision and Access: Depending on the approach, the surgeon accesses the uterus either through the abdomen or the vaginal canal/cervix.

  • Fibroid Removal: Each fibroid is carefully "shelled out" from the surrounding healthy uterine muscle.

  • Uterine Reconstruction: The surgeon meticulously sutures the layers of the uterine muscle back together to ensure the wall is strong enough to support a future pregnancy.

  • Closure: Abdominal incisions are closed with stitches or surgical glue. For hysteroscopic cases, there are no external wounds to close.

Pre-Procedure Preparation

  • Pelvic Imaging: An MRI or detailed ultrasound is mandatory to map the exact size, number, and depth of all fibroids.

  • Hormonal Therapy (Optional): In some cases, medication (like GnRH agonists) may be prescribed for 2–3 months before surgery to shrink the fibroids and reduce blood loss.

  • Iron Supplementation: If you are anemic due to heavy bleeding, you may need to take iron to build up your blood count before surgery.

  • Fasting: Adhering to strict "nothing by mouth" instructions for at least 8 hours prior to your general anesthesia.

  • Medication Audit: Stopping blood thinners, aspirin, or anti-inflammatory drugs 7–10 days before the procedure.

Tests Before Myomectomy

  • Saline Infusion Sonogram (SIS): Injecting sterile water into the uterus during an ultrasound to get a clear view of the uterine lining.

  • Hysteroscopy (Diagnostic): A quick office procedure to look inside the uterus and confirm if fibroids are affecting the cavity.

  • Blood Panels: Checking hemoglobin and hematocrit levels to assess for anemia.

  • ECG: A standard heart check to ensure you are healthy enough for the administration of anesthesia.

Life After Myomectomy

  • Hospital Stay: Usually 1–2 nights for open surgery; often same-day discharge or one night for laparoscopic and robotic approaches.

  • Physical Activity: Walking is encouraged immediately to prevent blood clots. Avoid heavy lifting and strenuous exercise for 4 weeks (laparoscopic) to 6 weeks (open).

  • Pregnancy Timing: Surgeons usually recommend waiting 3 to 6 months before trying to conceive to allow the uterine wall to heal completely.

  • Delivery Method: If the surgery involved deep incisions into the uterine wall, a C-section is often required for future deliveries to prevent uterine rupture during labor.

  • Follow-up Imaging: A repeat ultrasound is often done 3–6 months post-op to ensure the uterus has healed well and no small fibroids were left behind.

Why Specialized Treatment Is Highly Effective

  • Preserves Reproductive Potential: Unlike a hysterectomy, this procedure keeps the option of biological motherhood open.

  • Targeted Symptom Relief: Successfully removing fibroids eliminates the source of heavy bleeding and pelvic pressure while keeping the organ intact.

  • High Success Rates: Modern robotic and laparoscopic techniques allow for the removal of complex fibroids with minimal blood loss and faster recovery.

  • Improved Fertility Outcomes: For many women, removing cavity-distorting fibroids significantly increases the chances of successful natural conception or IVF.

  • Maintains Pelvic Integrity: Keeping the uterus helps maintain the natural support of the pelvic floor and avoids the early onset of surgical menopause.

Starting Cost: $ 800

Radical Prostatectomy (Open/Laparoscopic/Robotic)

Radical Prostatectomy is the surgical removal of the entire prostate gland and surrounding tissues, typically performed to treat Prostate Cancer. Unlike treatments for an enlarged prostate (BPH) which only remove the "core," this treatment removes the entire organ to ensure the cancer is fully eliminated.

When You Should Consider Radical Prostatectomy

  • Localized Prostate Cancer: When imaging confirms the cancer is confined within the prostate capsule (Stages T1 or T2).

  • Aggressive Disease: For patients with a higher Gleason Score who require definitive surgical removal rather than "active surveillance."

  • Long Life Expectancy: Typically recommended for patients expected to live 10+ years, where surgical removal offers the best long-term cure rate.

  • Failure of Radiation: As a "salvage" treatment if the cancer returns after previous radiation therapy.

  • Patient Preference: For individuals who prefer the psychological certainty of having the cancerous organ physically removed.

Methods of Radical Prostatectomy

  • Robotic-Assisted (Da Vinci): The modern gold standard. The surgeon sits at a console controlling robotic arms with 3D magnification and 360-degree "wristed" instruments for extreme precision.

  • Laparoscopic Surgery: A minimally invasive approach using 5–6 "keyhole" incisions, a camera, and long instruments to operate while viewing a 2D screen.

  • Open Surgery (Retropubic): The traditional method involving a single 4–5 inch incision in the lower abdomen to remove the gland.

  • Nerve-Sparing Technique: A meticulous process where the surgeon peels the delicate "neurovascular bundles" away from the prostate to preserve sexual function.

  • Vesicourethral Anastomosis: The reconstructive step where the bladder is stitched directly back to the urethra to restore the urinary path after the gland is removed.

How the Procedure Is Performed

  • Anesthesia: Performed under General Anesthesia to ensure the patient is completely asleep and the abdominal muscles are relaxed.

  • Dissection: The surgeon carefully separates the prostate from the bladder above it and the urethra below it.

  • Lymph Node Removal: Depending on the cancer's aggressiveness, nearby pelvic lymph nodes are often removed to check for microscopic spread.

  • Gland Extraction: The entire prostate and the attached seminal vesicles are removed as a single unit.

  • Catheterization: A Foley catheter is inserted through the penis into the bladder to act as a "splint" while the new connection (anastomosis) heals.

  • Drain Placement: A small suction tube may be left in the abdomen for 24–48 hours to remove excess surgical fluid.

Pre-Procedure Preparation

  • Cancer Staging: Includes a Multiparametric MRI (mpMRI) and often a PSMA PET-CT scan to ensure the cancer has not spread.

  • Biopsy Review: The surgical team reviews the Gleason Score and genomic markers to plan the extent of the surgery.

  • Pelvic Floor Training: Patients are taught Kegel exercises weeks before surgery to strengthen the muscles responsible for urinary control.

  • Medication Audit: Patients must stop blood thinners (like Aspirin or Warfarin) 7–10 days prior to the operation.

  • Fasting: Maintaining a "nil per oral" status for 8 hours before the procedure for anesthesia safety.

Pre-Surgery Tests

  • PSA Blood Test: To establish the final pre-operative baseline for monitoring future "undetectable" levels.

  • EKG and Chest X-ray: Standard tests to ensure heart and lung fitness for a multi-hour surgical procedure.

  • Basic Metabolic Panel: Checking kidney function (Creatinine) and electrolytes to manage IV fluids during surgery.

  • Coagulation Profile: Testing PT/INR and Platelet counts to ensure safe surgical healing and minimal blood loss.

  • Complete Blood Count (CBC): To check baseline hemoglobin levels in case a blood transfusion is required (rare in robotic cases).

Life After Radical Prostatectomy (Recovery & Risks)

  • Hospital Stay: Usually 1–2 days for Robotic/Laparoscopic surgery, or 3–4 days for the Open approach.

  • Catheter Management: The Foley catheter must remain in place for 7 to 14 days to allow the bladder-urethra connection to heal water-tight.

  • Trial of Void: After 1–2 weeks, the catheter is removed in the clinic to ensure the patient can urinate independently.

  • Activity Restrictions: No heavy lifting (over 5kg) or driving for 4 weeks; early walking is encouraged to prevent blood clots.

  • Urinary Incontinence: Most patients experience leaking initially; this typically improves over 3–6 months with consistent pelvic floor exercises.

  • Erectile Dysfunction (ED): It can take 6–18 months for erections to return; doctors often start "Penile Rehabilitation" medication shortly after surgery.

Why Specialized Treatment Is Highly Effective

  • Definitive Cure: Offers the highest probability of completely eliminating localized prostate cancer in a single treatment.

  • Pathological Certainty: Removing the gland allows for a total biopsy, giving the most accurate information on the cancer's stage and grade.

  • Robotic Precision: The 3D-high-definition view in 2026 allows surgeons to see nerves and vessels that are nearly invisible to the naked eye.

  • Predictable Monitoring: Post-surgery, the PSA level should drop to "undetectable," making it very easy to monitor for any future recurrence.

  • Limb-Sparing Mindset: Modern techniques focus heavily on "quality of life" preservation, aiming for the "Trifecta" of cancer control, continence, and potency.

Starting Cost: $ 2500

Vaginal Hysterectomy (Open/Laparoscopic/Robotic)

A vaginal hysterectomy is a surgical procedure to remove the uterus through the vaginal canal. Unlike an abdominal hysterectomy, this approach requires no external incisions on the abdomen, which typically results in a shorter hospital stay, lower costs, and a significantly faster recovery. It is a preferred method for treating various non-cancerous gynecological conditions.

When You Should Consider a Vaginal Hysterectomy

  • Uterine Fibroids: Benign growths in the uterine wall that cause heavy menstrual bleeding, pelvic pressure, or persistent pain.

  • Uterine Prolapse: When the pelvic floor muscles and ligaments weaken, causing the uterus to slip down into or even out of the vaginal canal.

  • Adenomyosis: A condition where the uterine lining grows into the muscular wall of the uterus, causing severe cramping and heavy periods.

  • Endometriosis: When tissue similar to the uterine lining grows outside the uterus, leading to chronic pain and scarring.

  • Abnormal Uterine Bleeding: When heavy or irregular bleeding cannot be managed with medication or less invasive procedures.

Surgical Approaches

  • Traditional Vaginal Hysterectomy: The entire procedure is performed through an incision inside the vagina. This is the least invasive method and leaves no visible scars.

  • Laparoscopically Assisted Vaginal Hysterectomy (LAVH): A thin camera (laparoscope) and micro-instruments are inserted through 3–4 tiny "keyhole" incisions in the belly to detach the upper uterus. The uterus is then removed through the vagina.

  • Robotic-Assisted Hysterectomy: Similar to the laparoscopic approach, but the surgeon uses a robotic console for superior 3D visualization and enhanced precision, which is ideal for complex cases like extensive endometriosis.

  • Vaginal Vault Creation: After the uterus is removed, the surgeon sews the top of the vagina closed, creating what is known as a "vaginal cuff."

How Is Performed

  • Anesthesia: The surgery is performed under general anesthesia or regional anesthesia (spinal/epidural) and typically takes 1 to 2 hours.

  • Access: The surgeon makes an incision inside the vagina to reach the uterus.

  • Detachment: Using specialized tools, the surgeon clamps and cuts the blood vessels and ligaments that support the uterus.

  • Removal: The uterus (and sometimes the fallopian tubes or ovaries) is withdrawn through the vaginal opening.

  • Closure: The internal incisions are closed with dissolvable stitches. Because there are no abdominal cuts in the traditional approach, there is no external scarring.

Pre-Procedure Preparation

  • Pelvic Examination: To assess the size of the uterus and ensure it can be safely removed through the vaginal canal.

  • Fasting: Adhering to strict "nothing by mouth" instructions for at least 8 hours prior to your general anesthesia.

  • Medication Audit: You may need to stop taking blood thinners, aspirin, or certain herbal supplements 7–10 days before the procedure.

  • Bowel Prep: In some cases, your surgeon may recommend a mild laxative or a specific diet the day before surgery.

  • Smoking Cessation: Stopping smoking at least 4 weeks before surgery is vital to promote healthy tissue healing and reduce the risk of infection.

Tests Before Vaginal Hysterectomy

  • Pelvic Ultrasound: To map the size and location of fibroids and check the health of the ovaries.

  • Endometrial Biopsy: To rule out any cancerous or precancerous cells within the uterine lining.

  • Pap Smear: To ensure there are no cervical abnormalities before the uterus and cervix are removed.

  • Blood Panels: Checking hemoglobin levels and blood type to prepare for the rare possibility of a transfusion.

  • ECG: A standard heart check to ensure you are healthy enough for the administration of anesthesia.

Life After Vaginal Hysterectomy

  • Hospital Stay: Most patients are discharged the same day or after one night of observation.

  • Physical Activity: Walking is encouraged immediately to prevent blood clots, but you must avoid heavy lifting (over 5 kg) and strenuous exercise for 4 to 6 weeks.

  • Vaginal Health: You must not use tampons or have sexual intercourse for 6 to 8 weeks to allow the vaginal cuff to heal completely.

  • Hormonal Changes: If the ovaries are left intact, you will not enter menopause prematurely, though you will no longer have periods. If ovaries are removed, menopause begins immediately.

  • Follow-up Care: A post-operative checkup is typically scheduled for 2 to 6 weeks after surgery to ensure the internal stitches are dissolving correctly.

Why Specialized Treatment Is Highly Effective

  • Faster Recovery: Patients generally return to normal activities much sooner than those undergoing traditional abdominal surgery.

  • No Visible Scarring: Because the entry point is internal, there are no cosmetic changes to the abdomen.

  • Reduced Complication Rates: Vaginal approaches are associated with lower risks of wound infection and less post-operative pain.

  • Cost-Efficient: Shorter hospital stays and quicker operating times often result in lower overall medical costs.

  • High Patient Satisfaction: Most women report a significant improvement in quality of life once the symptoms of fibroids or prolapse are resolved.

Starting Cost: $ 500

Related Specialists

Dr Vaibhav Mishra
Dr Vaibhav Mishra
Senior Director - CTVS
Max Super Specialty Hospital, Patparganj
12+years experience
View Profile
Dr Meenu Walia
Dr Meenu Walia
Chairman - Medical Oncology (Breast, Gynecology, Thoracic)
Max Super Specialty Hospital, Vaishali
36+years experience
View Profile
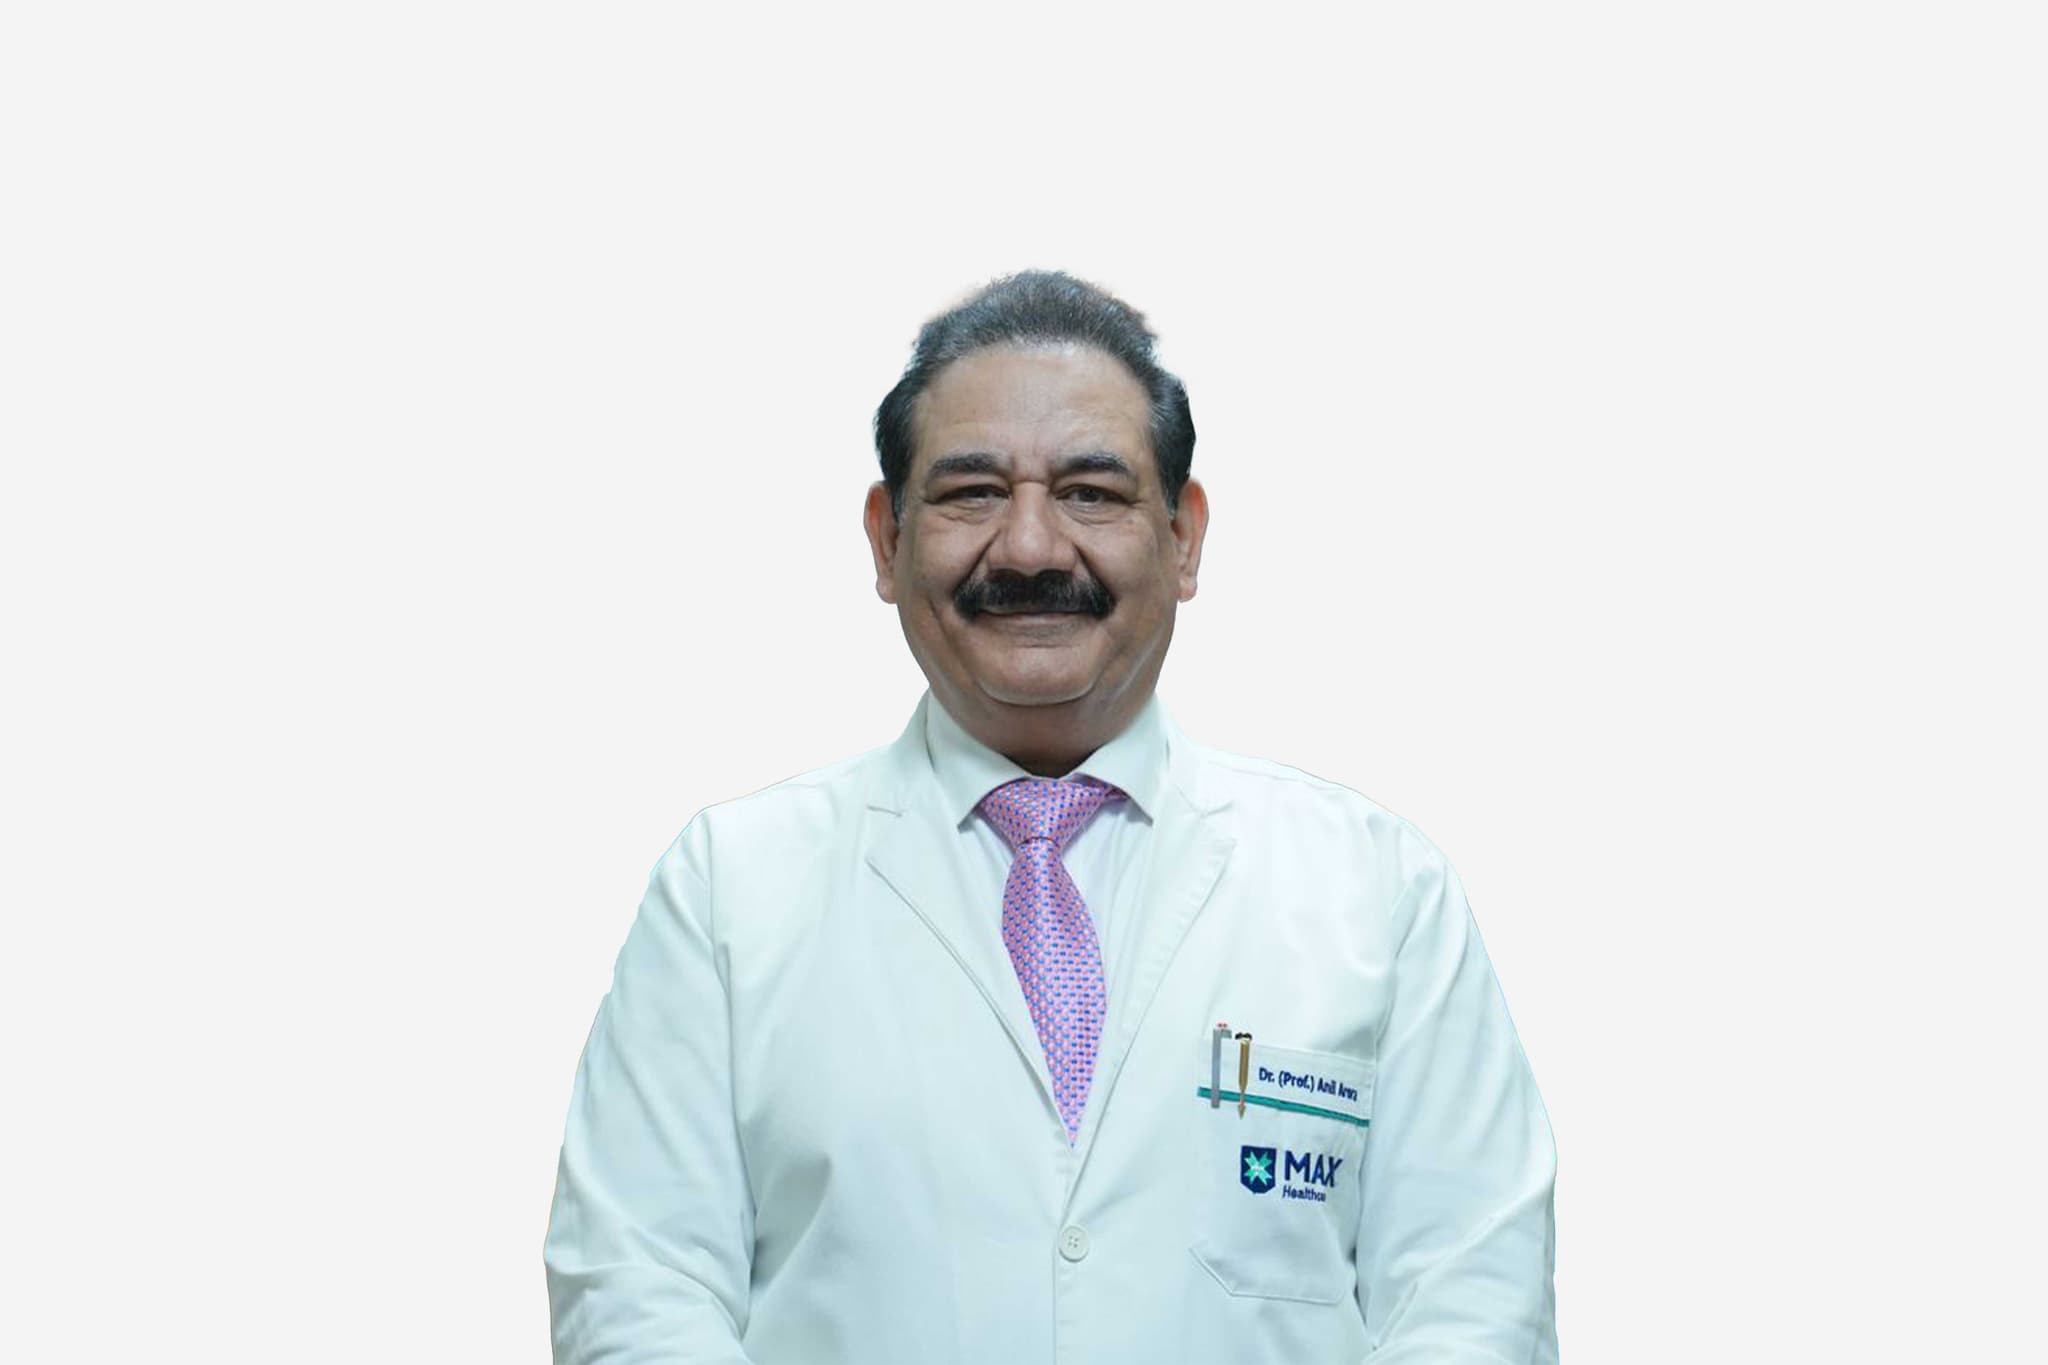
Dr Anil Arora
Dr Anil Arora
Chairman & Head of Department - Orthopedics & Joint Replacement
Max Super Specialty Hospital, Patparganj
38+years experience
View Profile
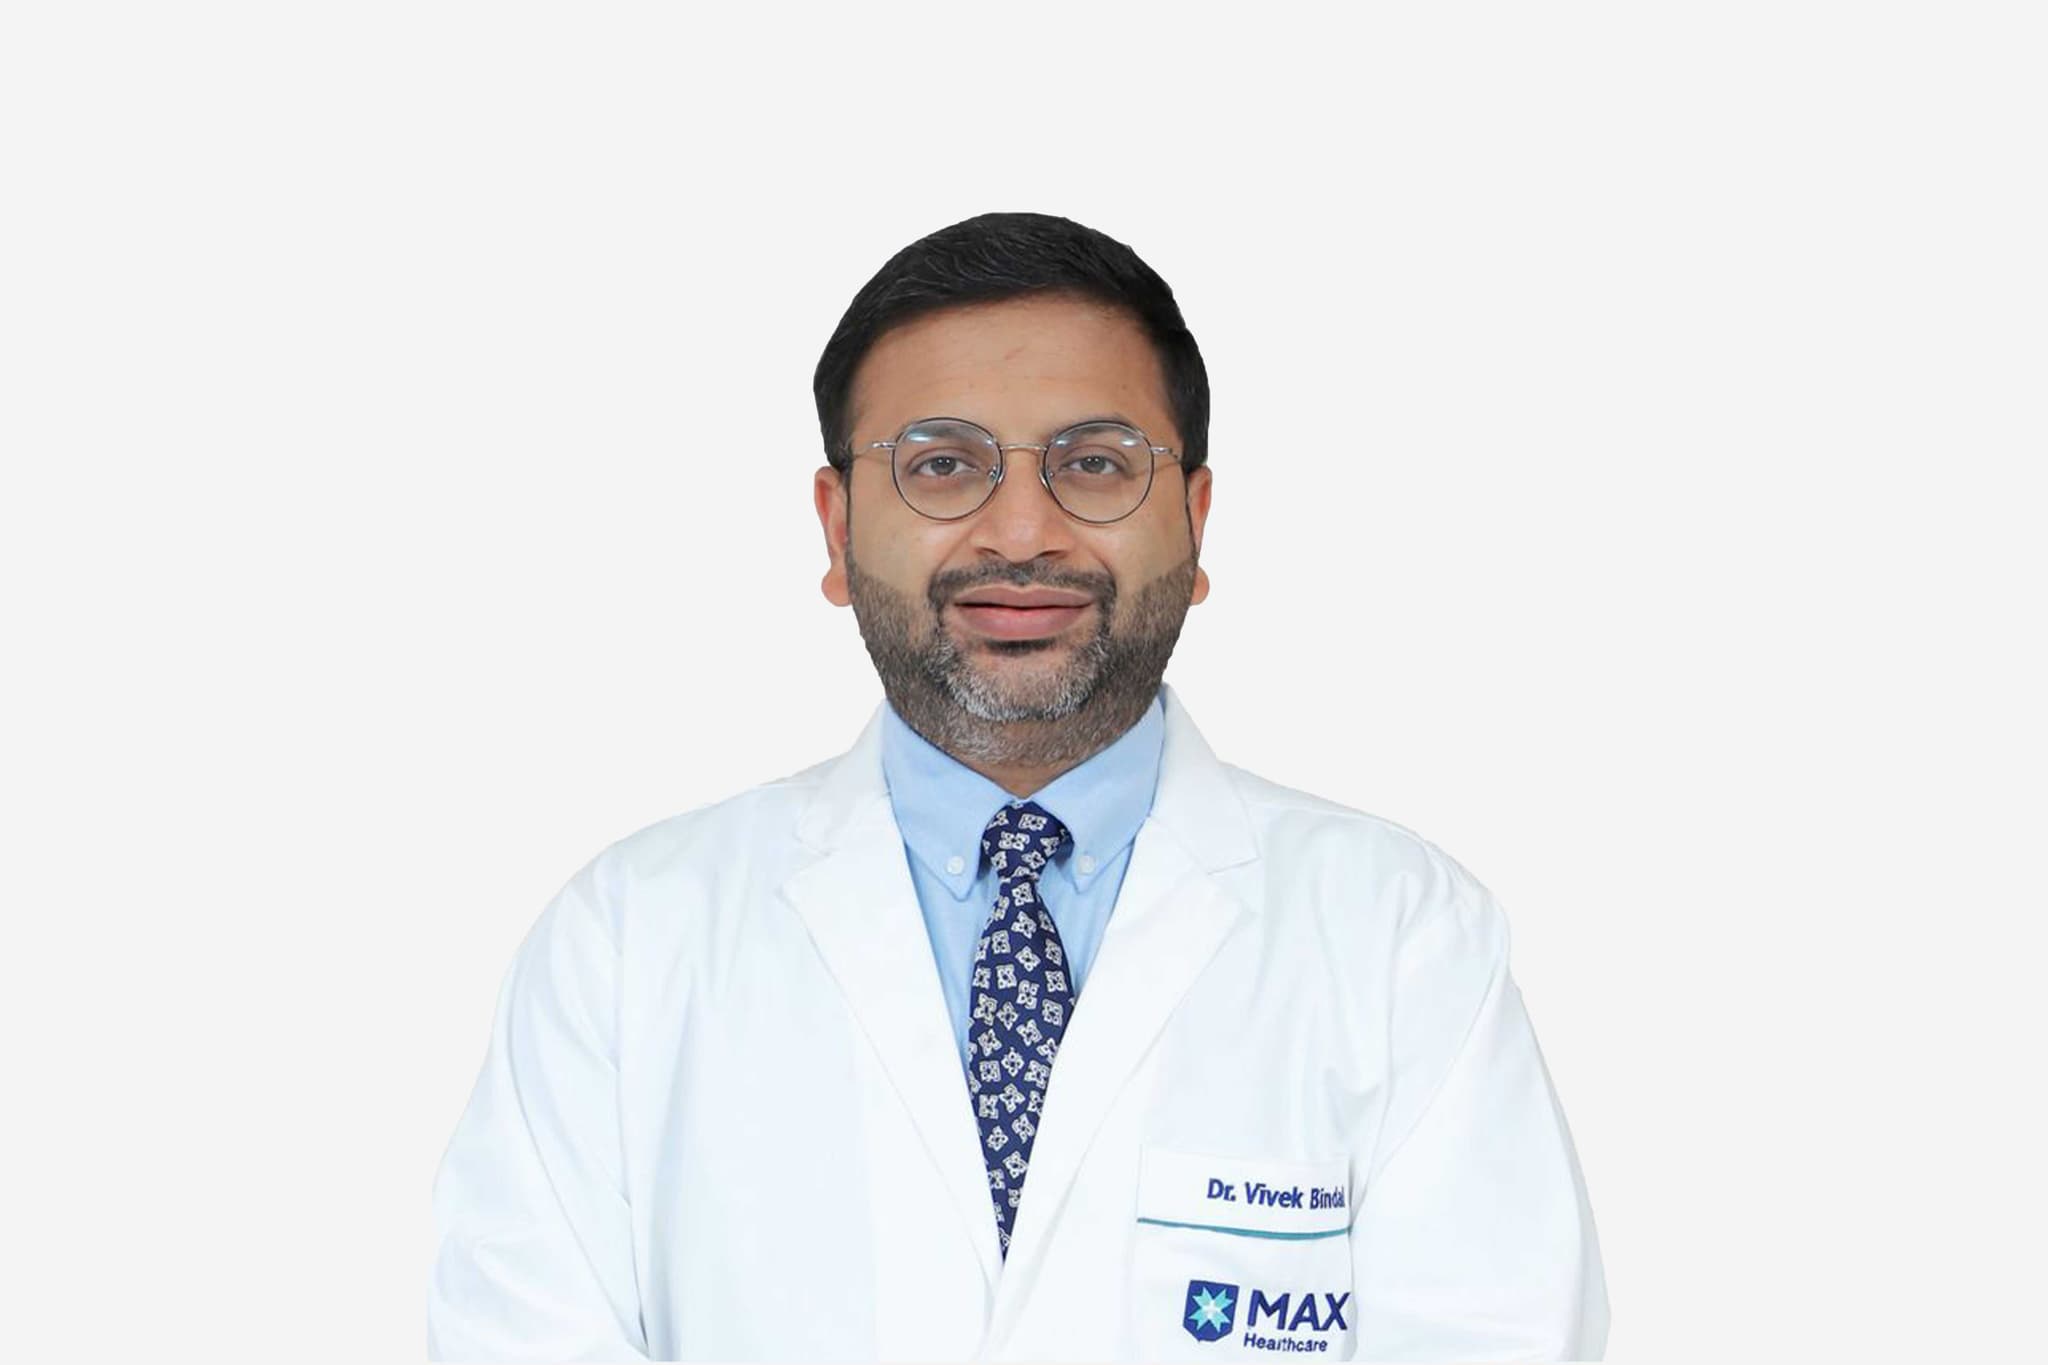
Dr Vivek Bindal
Dr Vivek Bindal
Senior Director & Head – Max Institute of Minimal Access, Bariatric & Robotic Surgery
Max Super Specialty Hospital, Vaishali
17+years experience
View Profile
Dr Hem Chandra Bhatt
Senior Consultant - Pediatrics
Max Super Specialty Hospital, Patparganj
27+years experience
View Profile
Dr Neera Aggarwal
Dr Neera Aggarwal
Director - Obstetrics And Gynecology
Max Super Specialty Hospital, Patparganj
58+years experience
View Profile
Dr Vivek Mangla
Dr Vivek Mangla
Principal Director - Gastrointestinal and Hepatopancreatobiliary (GI & HPB) Surgical Oncology
Max Super Specialty Hospital, Vaishali
21+years experience
View Profile
Dr Sowrabh Kumar Arora
Principal Director & Clinical Administrator - Surgical Oncology (Head & Neck)
Max Super Specialty Hospital, Vaishali
20+years experience
View Profile
Dr Anurag Jain
Dr Anurag Jain
Senior Director - ENT
Max Super Specialty Hospital, Patparganj
33+years experience
View Profile
Dr Manoj Johar
Dr Manoj Johar
Principal Director - Aesthetic & Reconstructive Surgery
Max Super Specialty Hospital, Vaishali
25+years experience
View Profile

May we help you?

Enter digits only (6-15 digits). We'll add your country code.