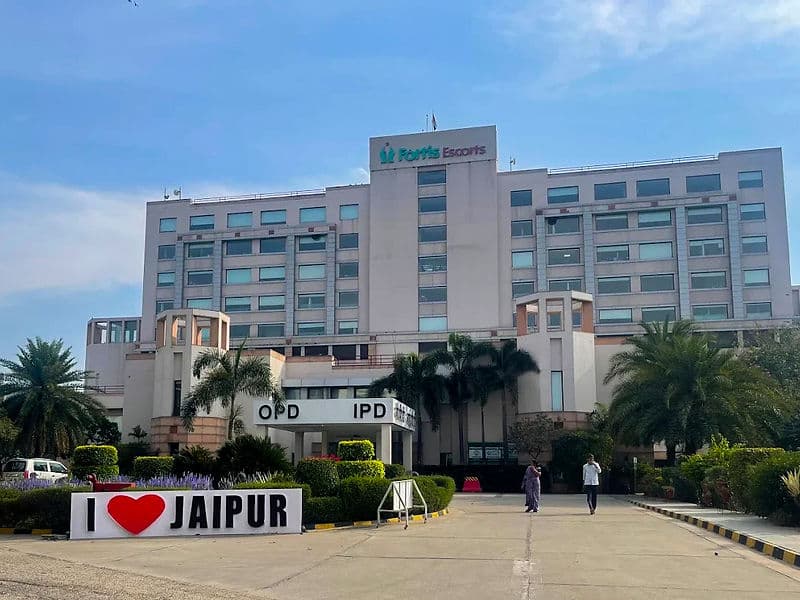

Fortis Escorts Hospital, Jaipur
Sector 5, Malviya Nagar, Jaipur, Rajasthan 302017
Quick Overview
2007
Established
Multi-Super
Speciality
275+
Beds
90+
Doctors
Fortis Escorts Hospital, Jaipur, India
Fortis Escorts Hospital, Jaipur, stands as a premier tertiary-level healthcare institution and a beacon of advanced medical care in Rajasthan. As the first facility in the region to achieve NABH accreditation shortly after its establishment, it has spent nearly two decades defining the standard for clinical excellence. Occupying a sprawling 6.67-acre campus, this multi-super-specialty hospital combines massive scale with a commitment to personalized healing, having served over 25 lakh patients with a focus on high-quality medical outcomes and safety.
Why Patients Trust Fortis Escorts Hospital, Jaipur
The hospital has earned its reputation as the most trusted healthcare provider in Rajasthan through a consistent focus on transparency, ethics, and clinical success. Patients from across the state and beyond choose this facility for its multidisciplinary approach and the presence of highly skilled specialists. Its leadership is reflected in its rankings, consistently being named the best multi-specialty hospital in Rajasthan by prestigious national surveys. This trust is further reinforced by its adherence to rigorous international protocols and its status as a pioneer in nursing excellence and patient safety.
Excellence in Advanced Care
The hospital offers a vast range of specialized medical and surgical services, utilizing a multidisciplinary approach to treat complex health conditions:
Cardiac Sciences: A leader in the region for pediatric and adult cardiac surgery, featuring advanced Cath Labs and 3D electro-physiology studies.
Orthopedics & Robotics: Home to advanced MAKO robotic-arm assisted surgery and computer navigation for high-precision joint replacements.
Neurosciences: A dedicated Brain Stroke Unit with a specialized ICU, utilizing neuro-navigation and high-end neuro-microscopes for intricate surgeries.
Oncology: Comprehensive cancer care including specialized Onco-surgery and advanced therapies like HIPEC (Hyperthermic Intraperitoneal Chemotherapy).
Renal Sciences: World-class dialysis facilities offering CRRT and SLED for critical kidney care.
Mother and Child Health: Featuring Level III Neonatal ICUs (NICU) and specialized pediatric intensive care.
Specialized Surgery: Expertise in GI and bariatric surgery, hand and microsurgery, and plastic and reconstructive procedures.
World-Class Facilities and Technology
The infrastructure is meticulously designed to support the highest levels of sterility and surgical precision:
State-of-the-Art OTs: 12 modular operation theaters equipped with laminar flow systems and advanced space suits to ensure a sterile environment.
Advanced Diagnostics: Equipped with 128-slice CT scans, 1.5 Tesla MRI, EBUS (Endobronchial Ultrasound), and EUS (Endoscopic Ultrasound) for early and accurate diagnosis.
Critical Care Infrastructure: A massive 100-bed medical ICU and dedicated units for Neuro, Cardiac, and Pediatric intensive care.
Surgical Innovation: Utilizing the 4K Neuro Microscope and 100 Watt Holmium Laser for minimally invasive and high-precision interventions.
Comprehensive Triage: 24/7 emergency response units with transport ventilators and fully trained trauma caregivers.
Easy Access for Patients
Located conveniently in Jaipur, the hospital provides a holistic environment designed for the comfort of patients and their families.
Round-the-Clock Support: 24/7 in-house pharmacy, blood bank, and advanced life-support ambulance services.
Patient Amenities: The campus includes dedicated waiting lounges, prayer rooms, yoga areas, and cafeterias to ensure a supportive healing environment.
Specialized Clinics: Focused care through dedicated units like the Heart Failure Clinic, Headache Clinic, and MS Clinic.
Community Integration: Extensive outreach through peripheral OPDs, health connect programs, and international patient services.
Fortis Escorts Hospital Jaipur at a Glance
The hospital’s commitment to healthcare leadership is demonstrated by its numerous accolades and high service standards:
Top-Tier Rankings: Ranked #1 in Cardiology and Nephrology in Rajasthan by the Outlook Ranking 2023.
Prestigious Accreditations: Holds certifications from NABH for the hospital, blood bank, and ethics committee, along with NABL accreditation for laboratory services.
Nursing Pioneer: The first hospital in Rajasthan to achieve NABH Nursing Excellence accreditation.
Technological Frontrunner: A regional leader in robotic joint replacements and advanced neuro-interventional procedures.